Adding art to my custom control board
One of my personal hobbies is to spend a lot of time fretting over arcade sticks. I enjoy playing platformer-style — Metroidvanias mostly — video games on an arcade cabinet. It’s weird and I revel in my weirdness.
The control board for my stick has been a work in progress for years now. I have a lot to share now that it’s largely a completed work, along with the cabinet itself.
My first control board
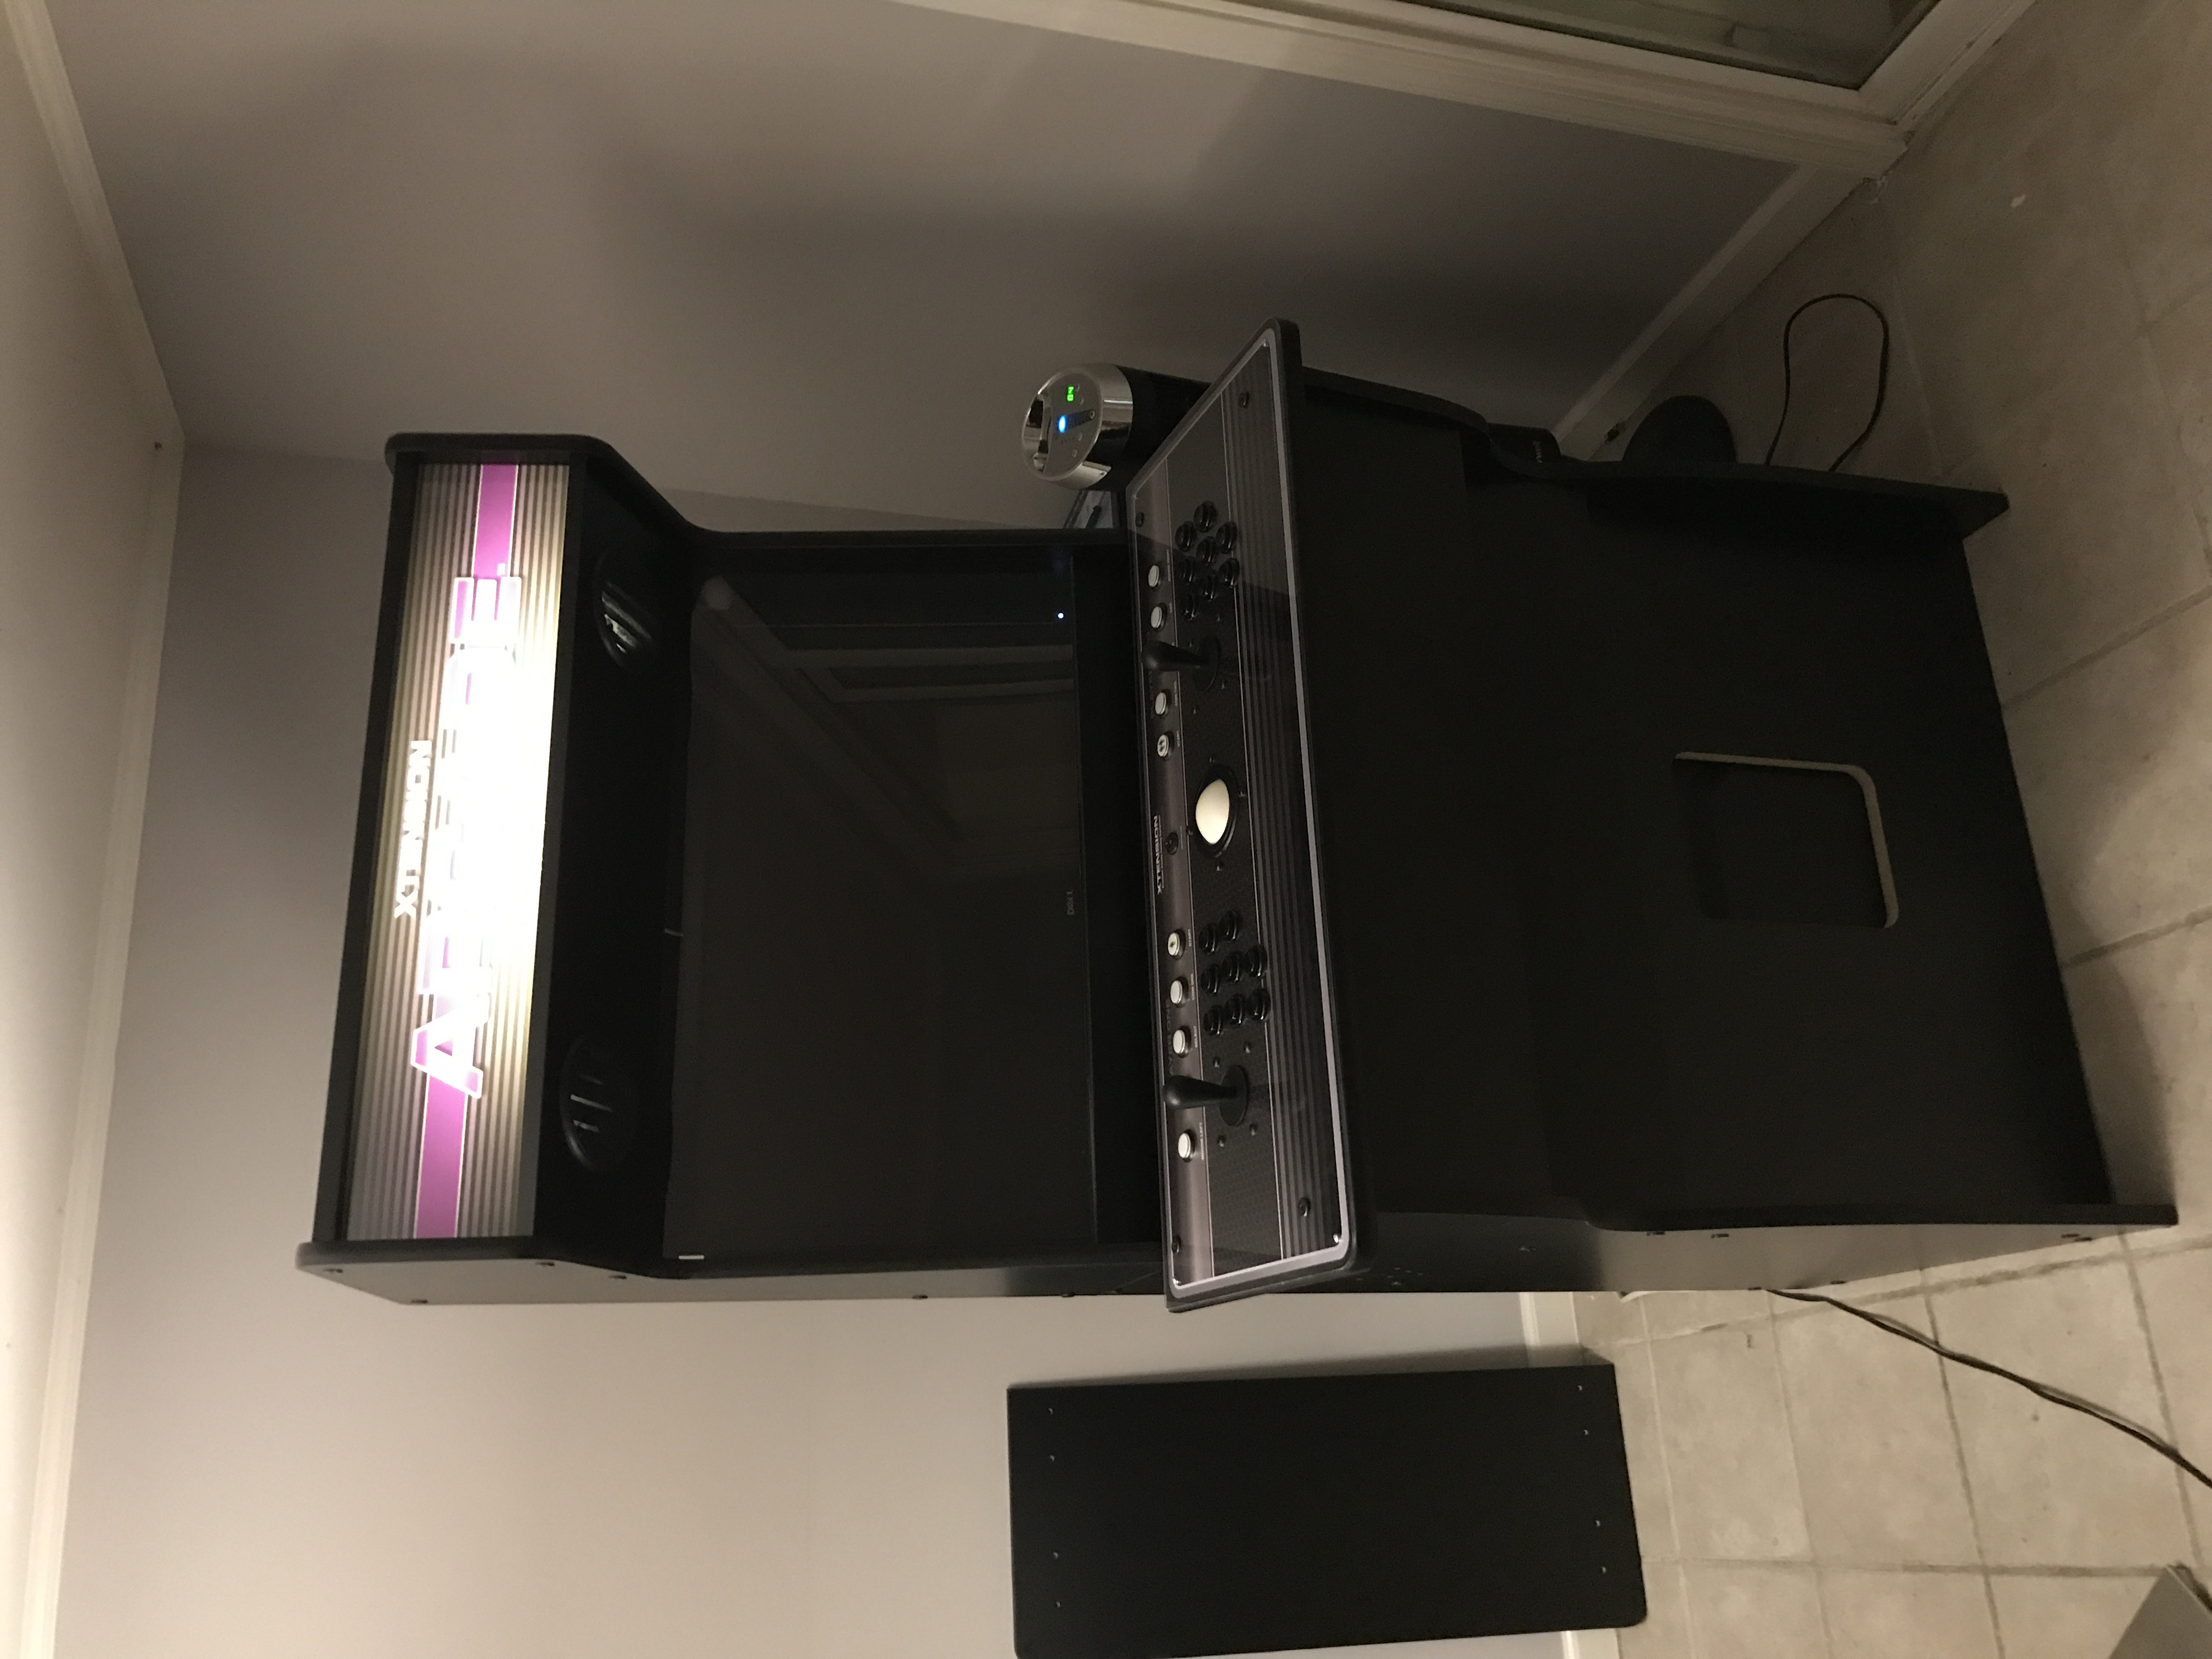
My first control board was a RecRoomMasters Xtension Pro Emulator Edition, pictured below in the cabinet. For some reason, I don’t have a close picture of the original before I modded it.
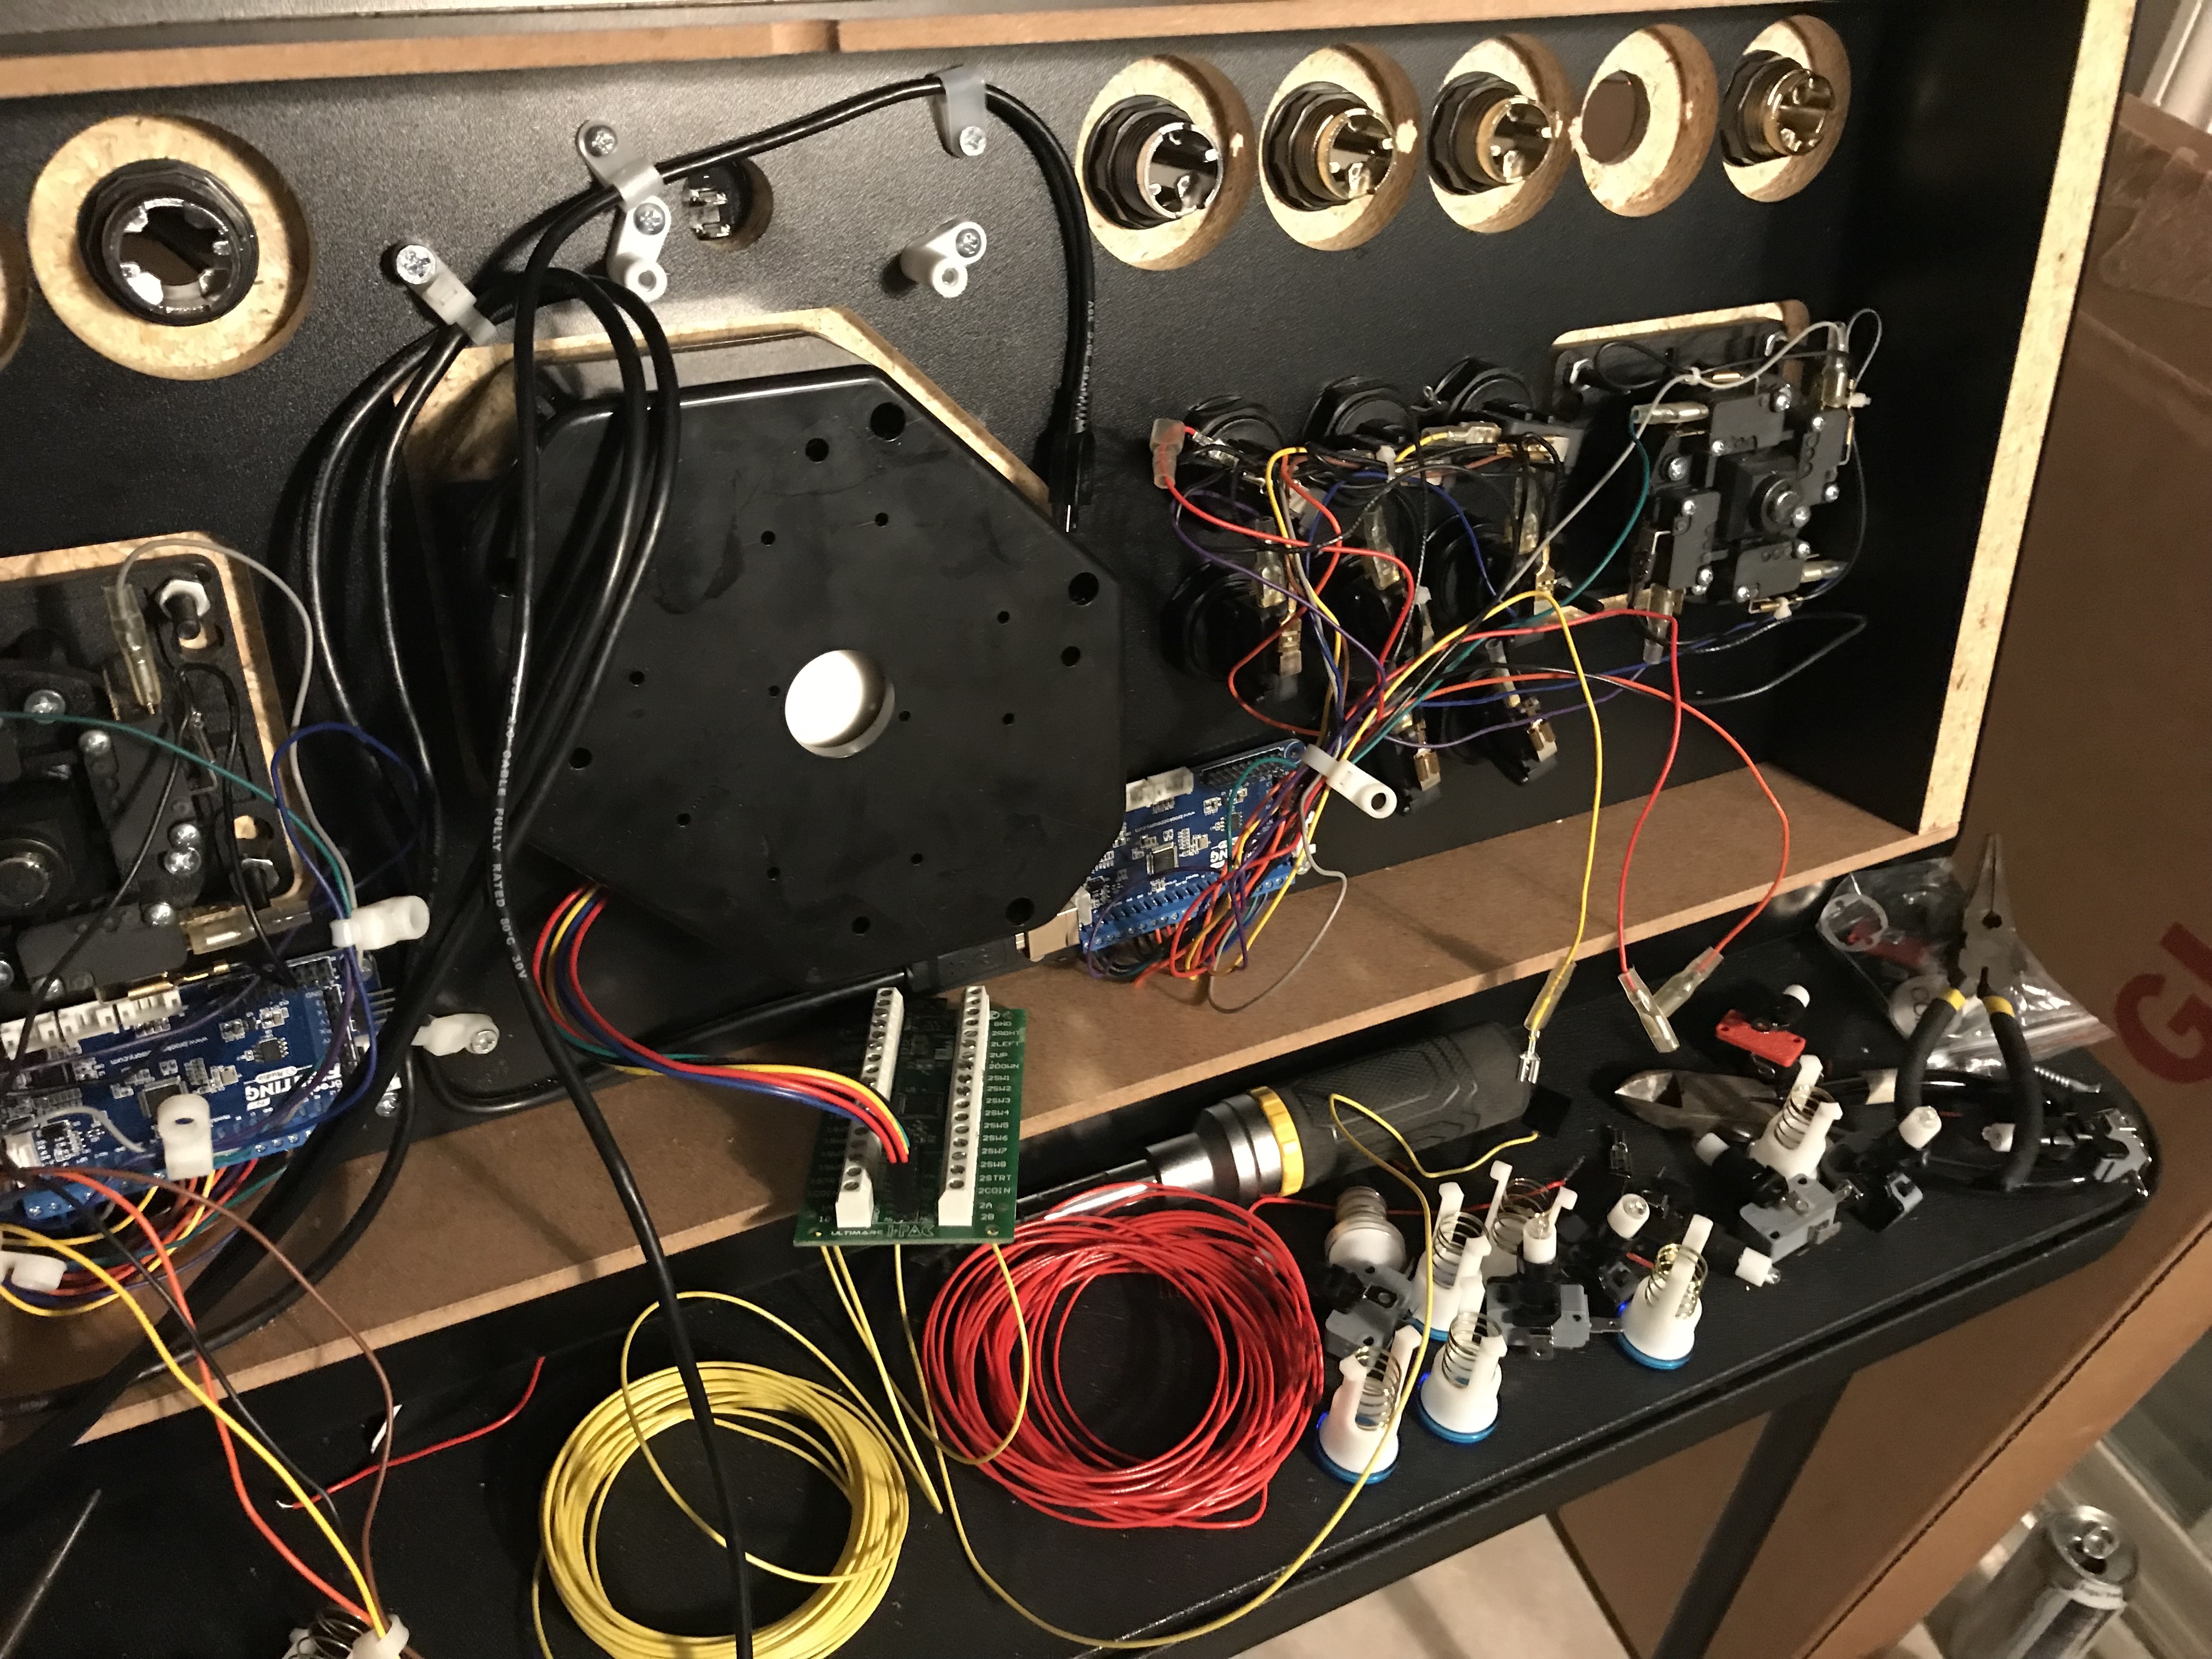
Naturally, I had to take this apart at some point. So here’s the inside about a day later:
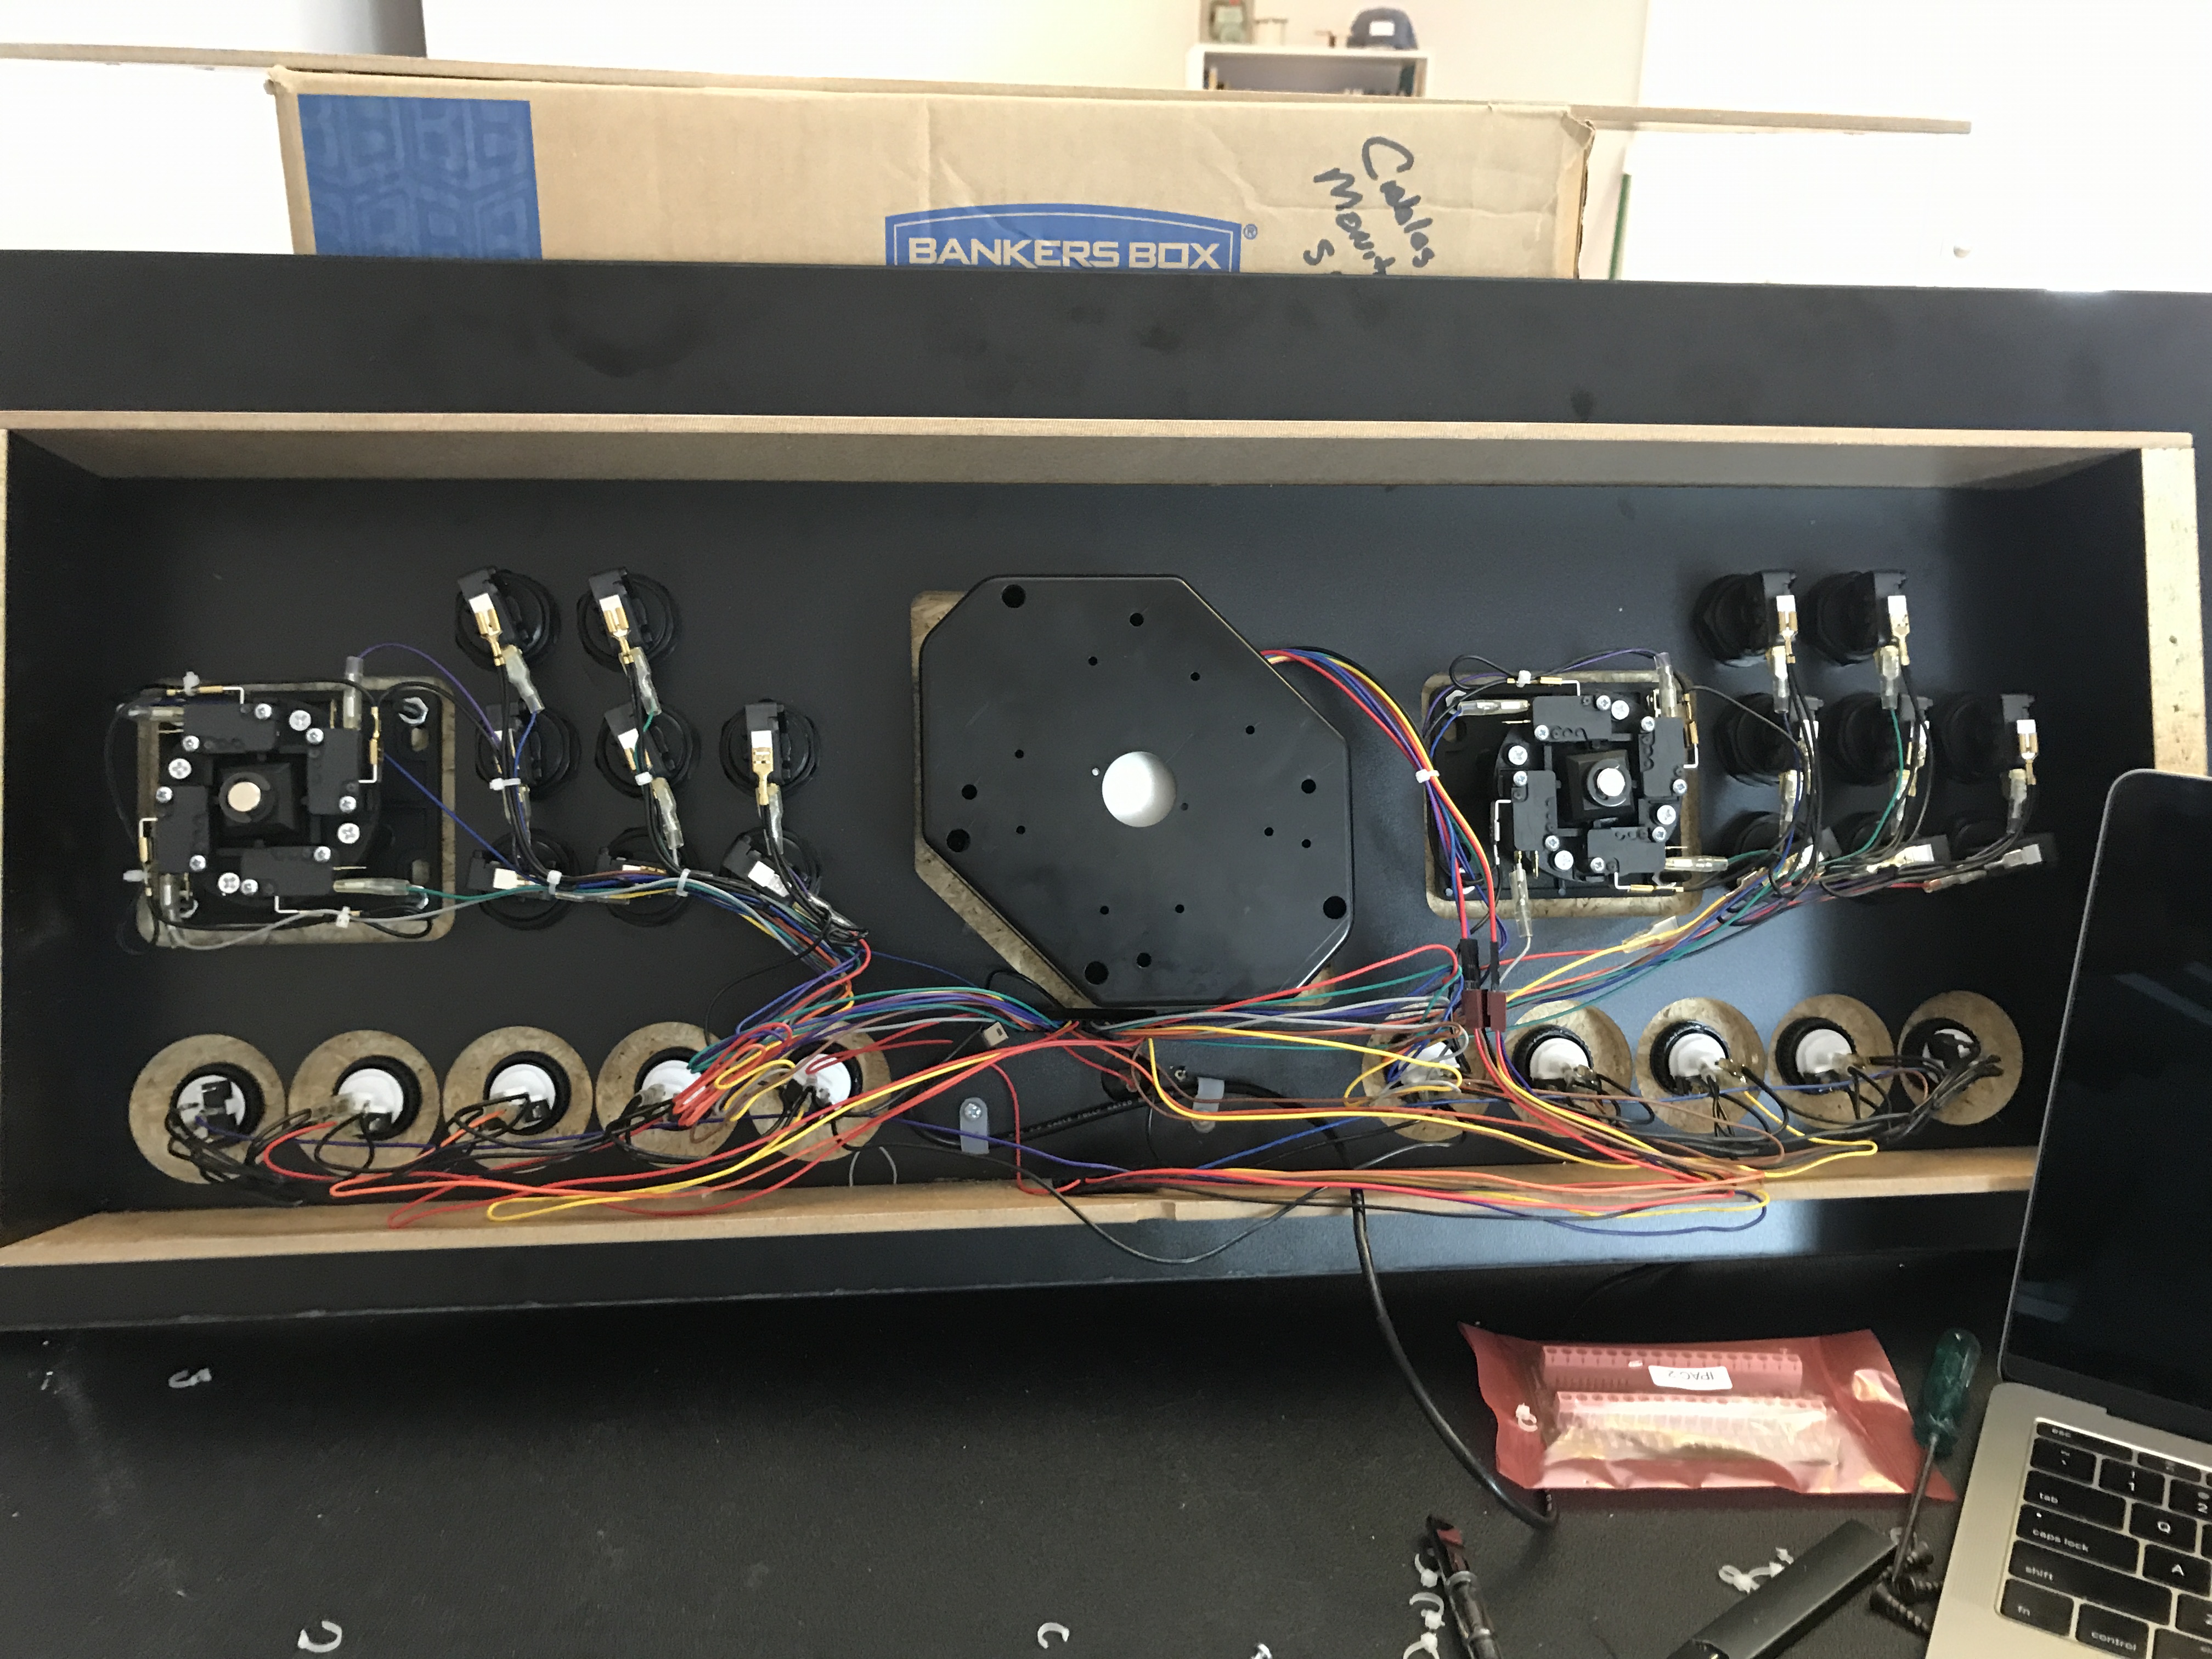
The sticks and buttons are original Suzo/Happ parts. They are connected to a Mini PAC along with a U-Trak and some additional buttons for left and right mouse.
Pictured is an iPac 2, largely because my scenario involves a lot of steam’s big picture mode, which works best with the XInput Standard used by most xbox-compatible controllers. The iPac offering allowed for two adapters to provide the XInput emulation.
The problem with keyboard emulators
They are brittle. Keyboard emulation mapped to an xbox controller usually involves software to map the keyboard inputs to controller presses, which don’t really map equally. The controller press & release action are single events in most games, whereas with a keyboard, press+hold is actually just repeating the keypress. Emulation software that maps this listens for this repeat.
This creates ghosting and latency/performance problems in your inputs. That’s fine for Pac Man but not for Mega Man.
The iPac, as previously mentioned, provided the promise of these xinput emulators that never quite worked right. They were plugged into the extension ports of the ipac2, and always competed — even when plugged into the same board! — for first player slot. They were also ridiculously expensive at $30 apiece.
The solution to keyboard emulators
What I found worked best, eventually, was the Brook Accessory PS4+ Audio board. They have more expensive boards but this one served my purposes.
I found these boards to be the solution to most of the problems I had running a dual-stick control board on windows with steam. They will still have problems selecting first player if not massaged right (which is not hard to do with a few “konami codes” they baked in) but that’s because of windows, not them.
The boards function like real xbox controllers, they do not fall apart because some software crashed.
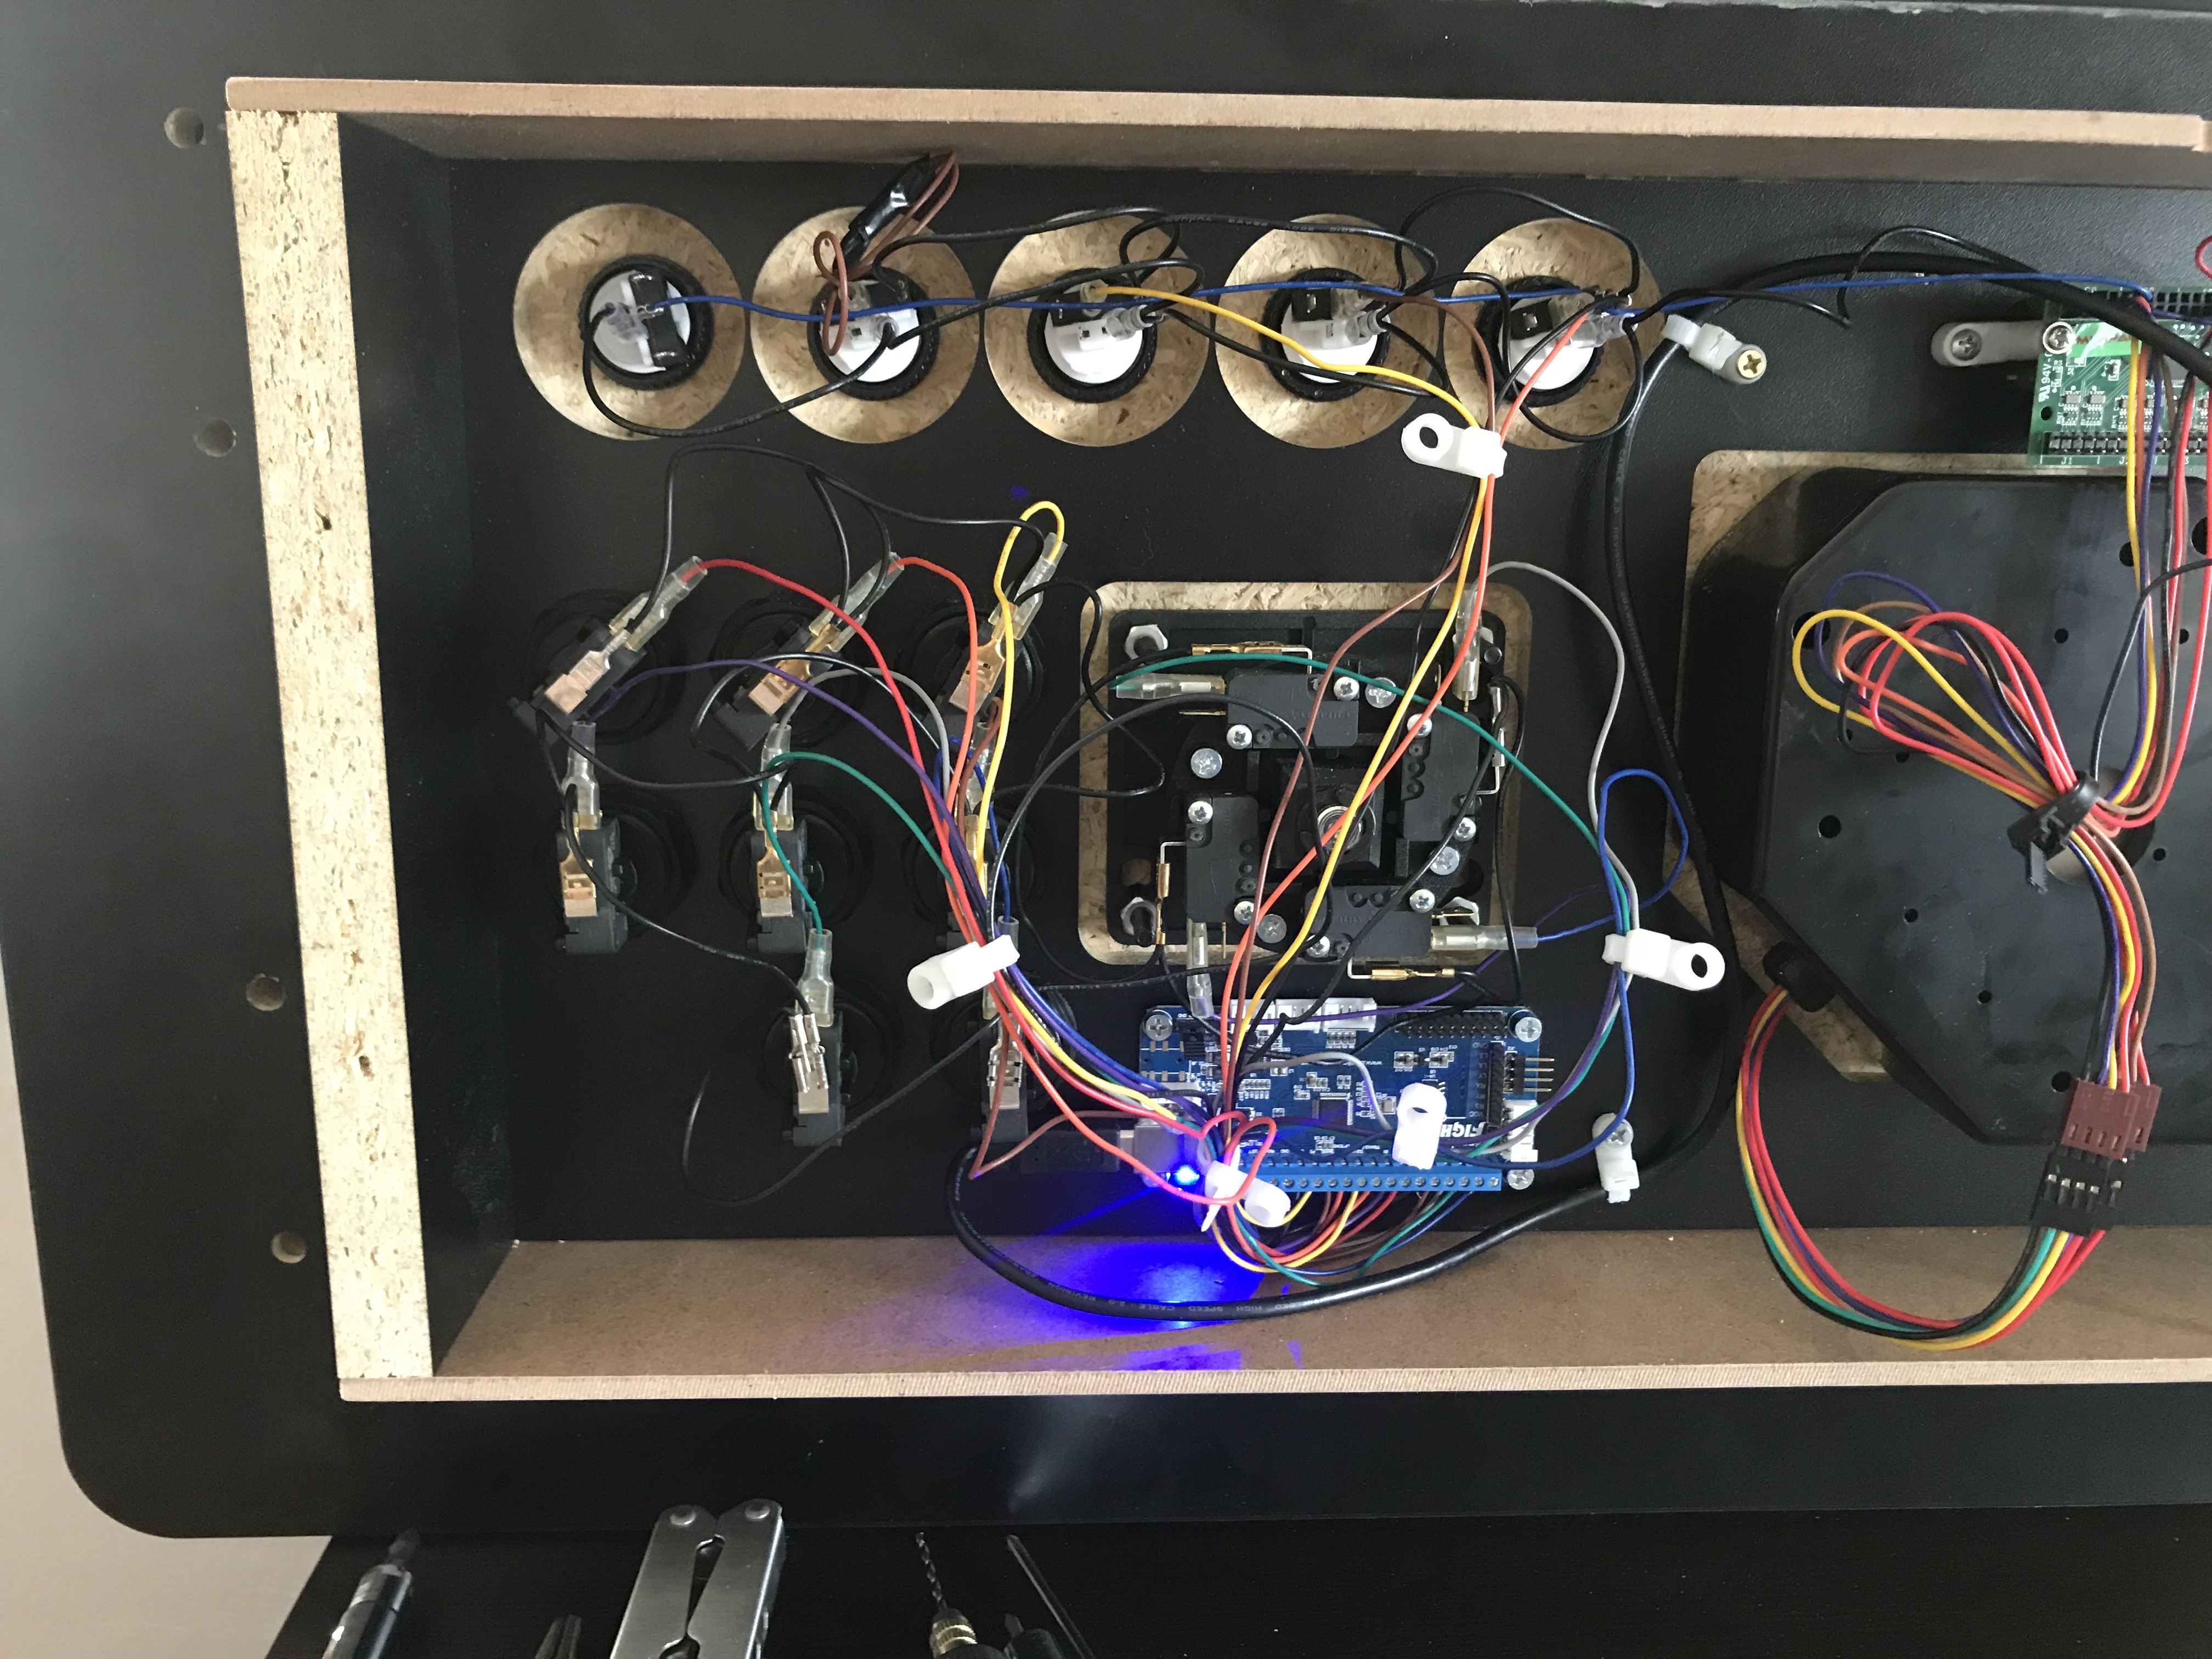
When I learned of the Brook boards I rewired most of the stick for the first time. I also installed some USB buttons (more below) as well as LED buttons in the top. Pictured is some of the work.
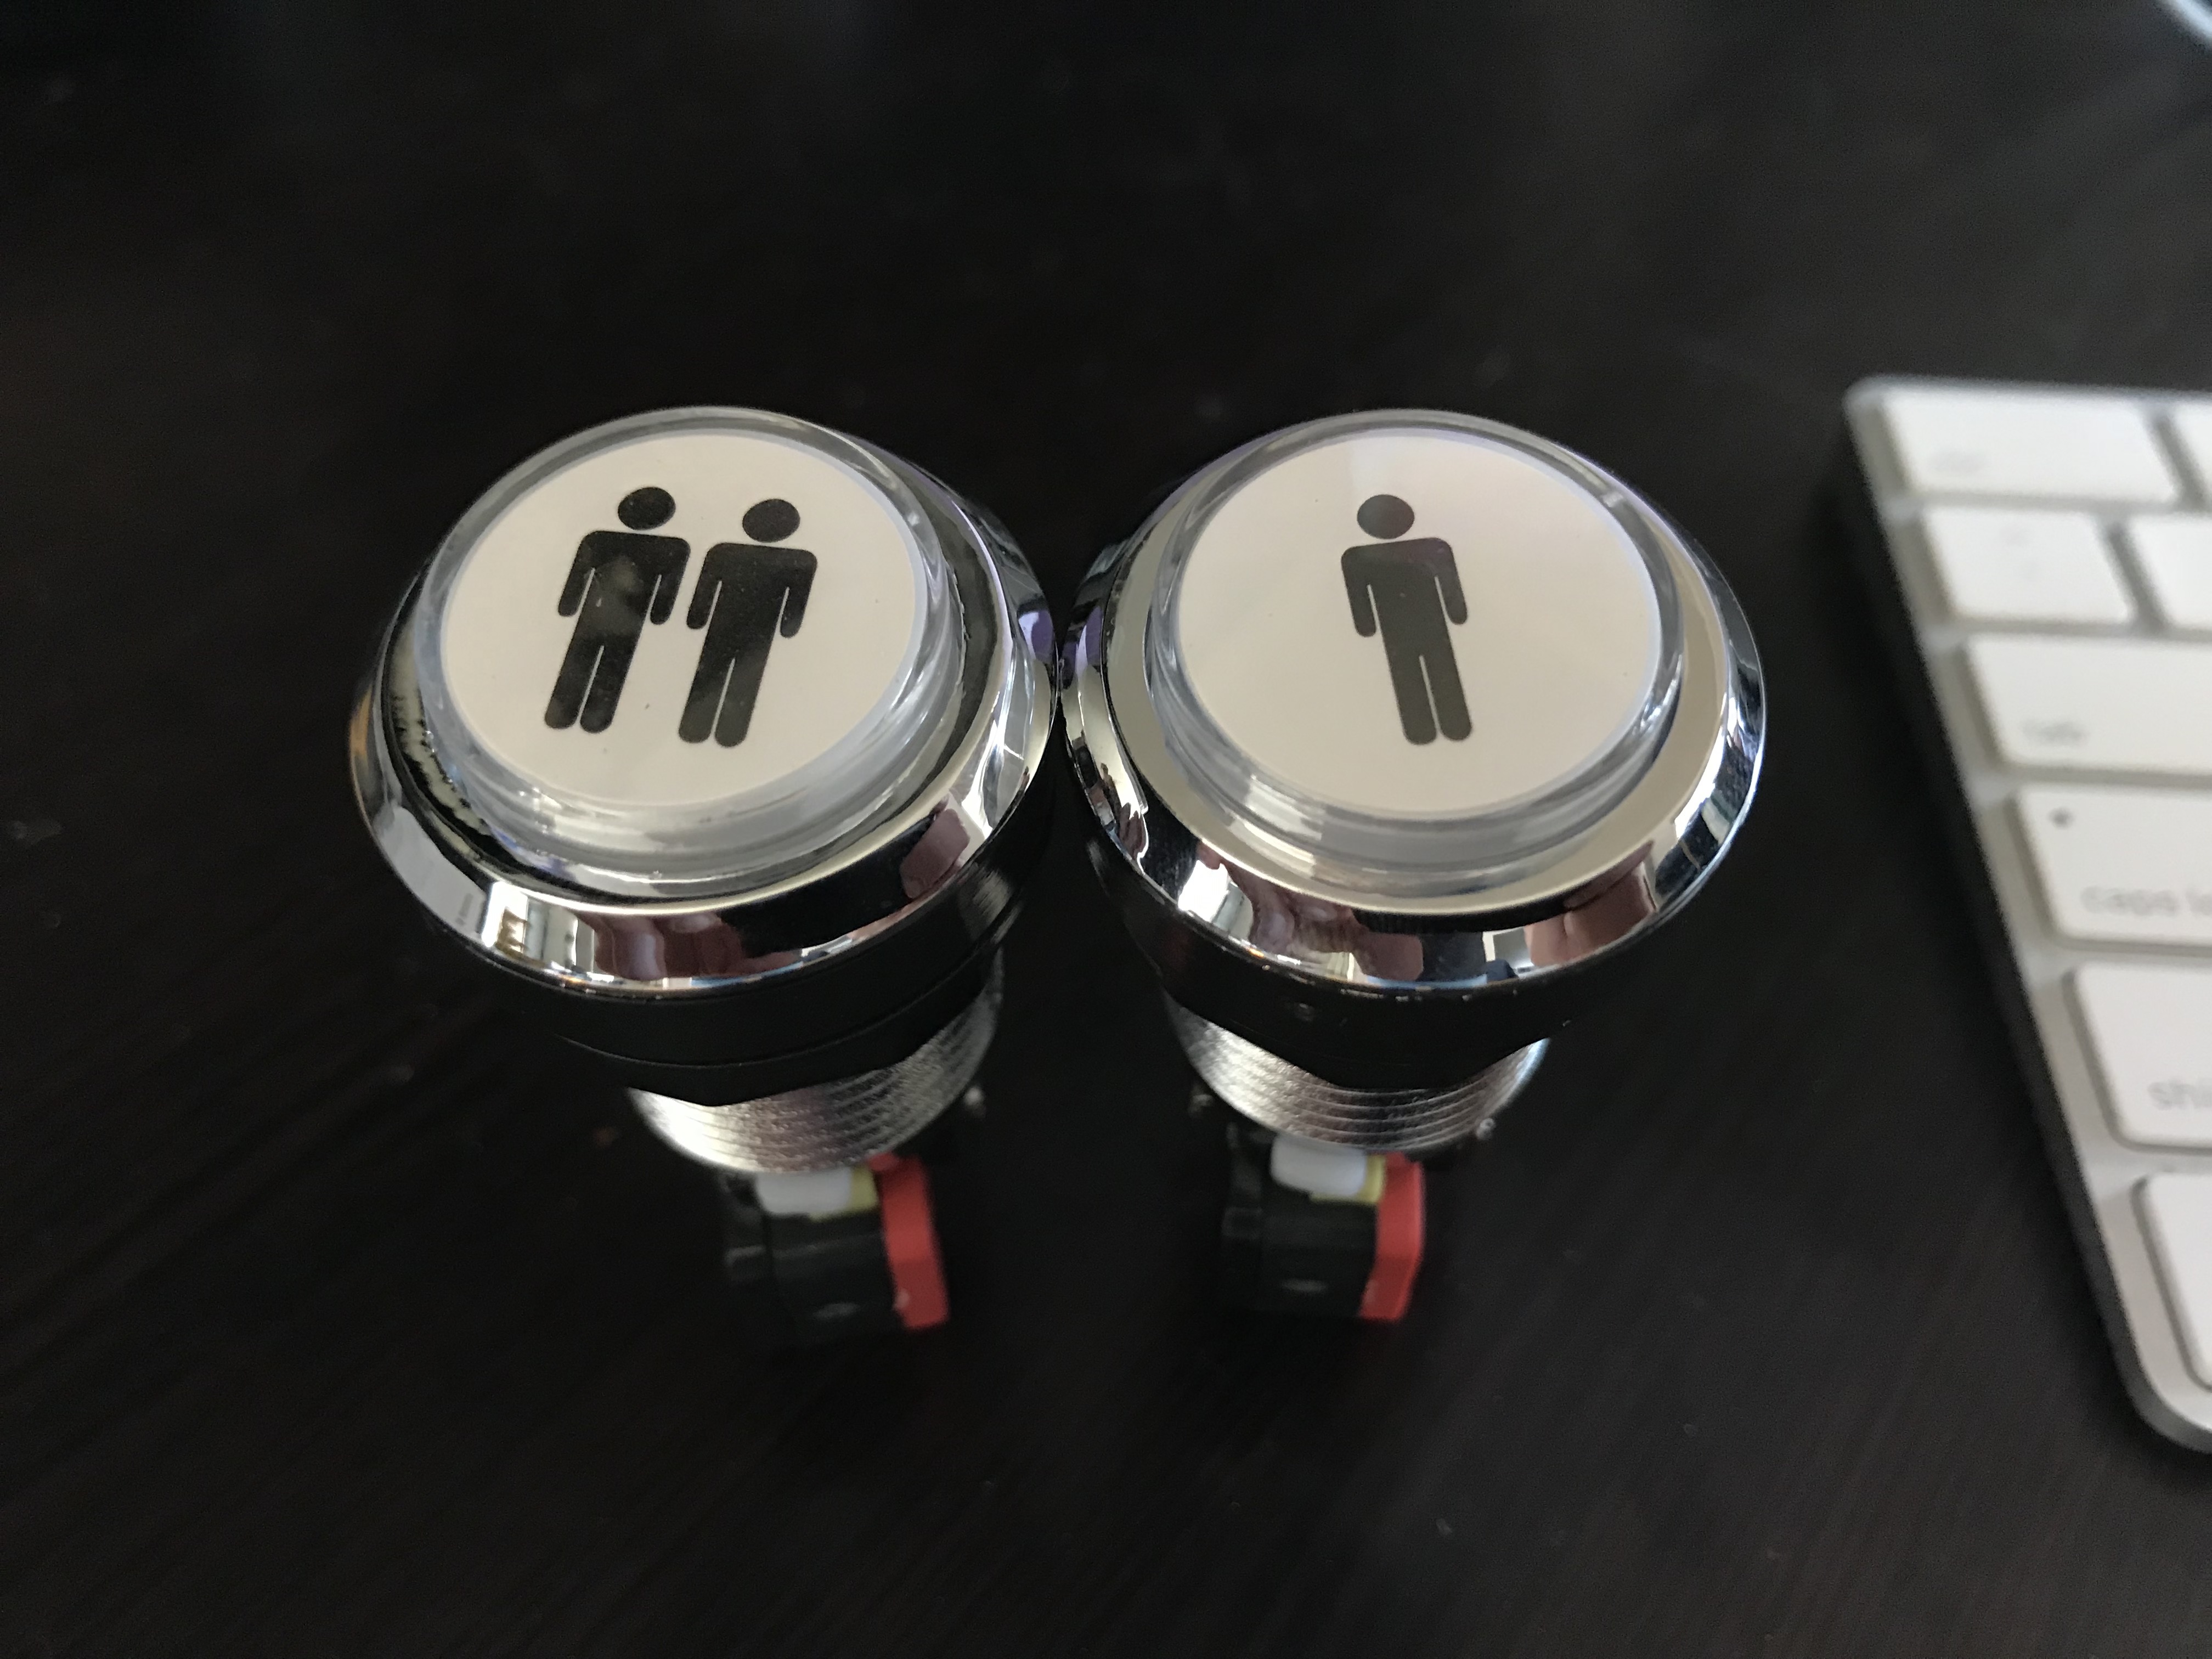
USB Buttons
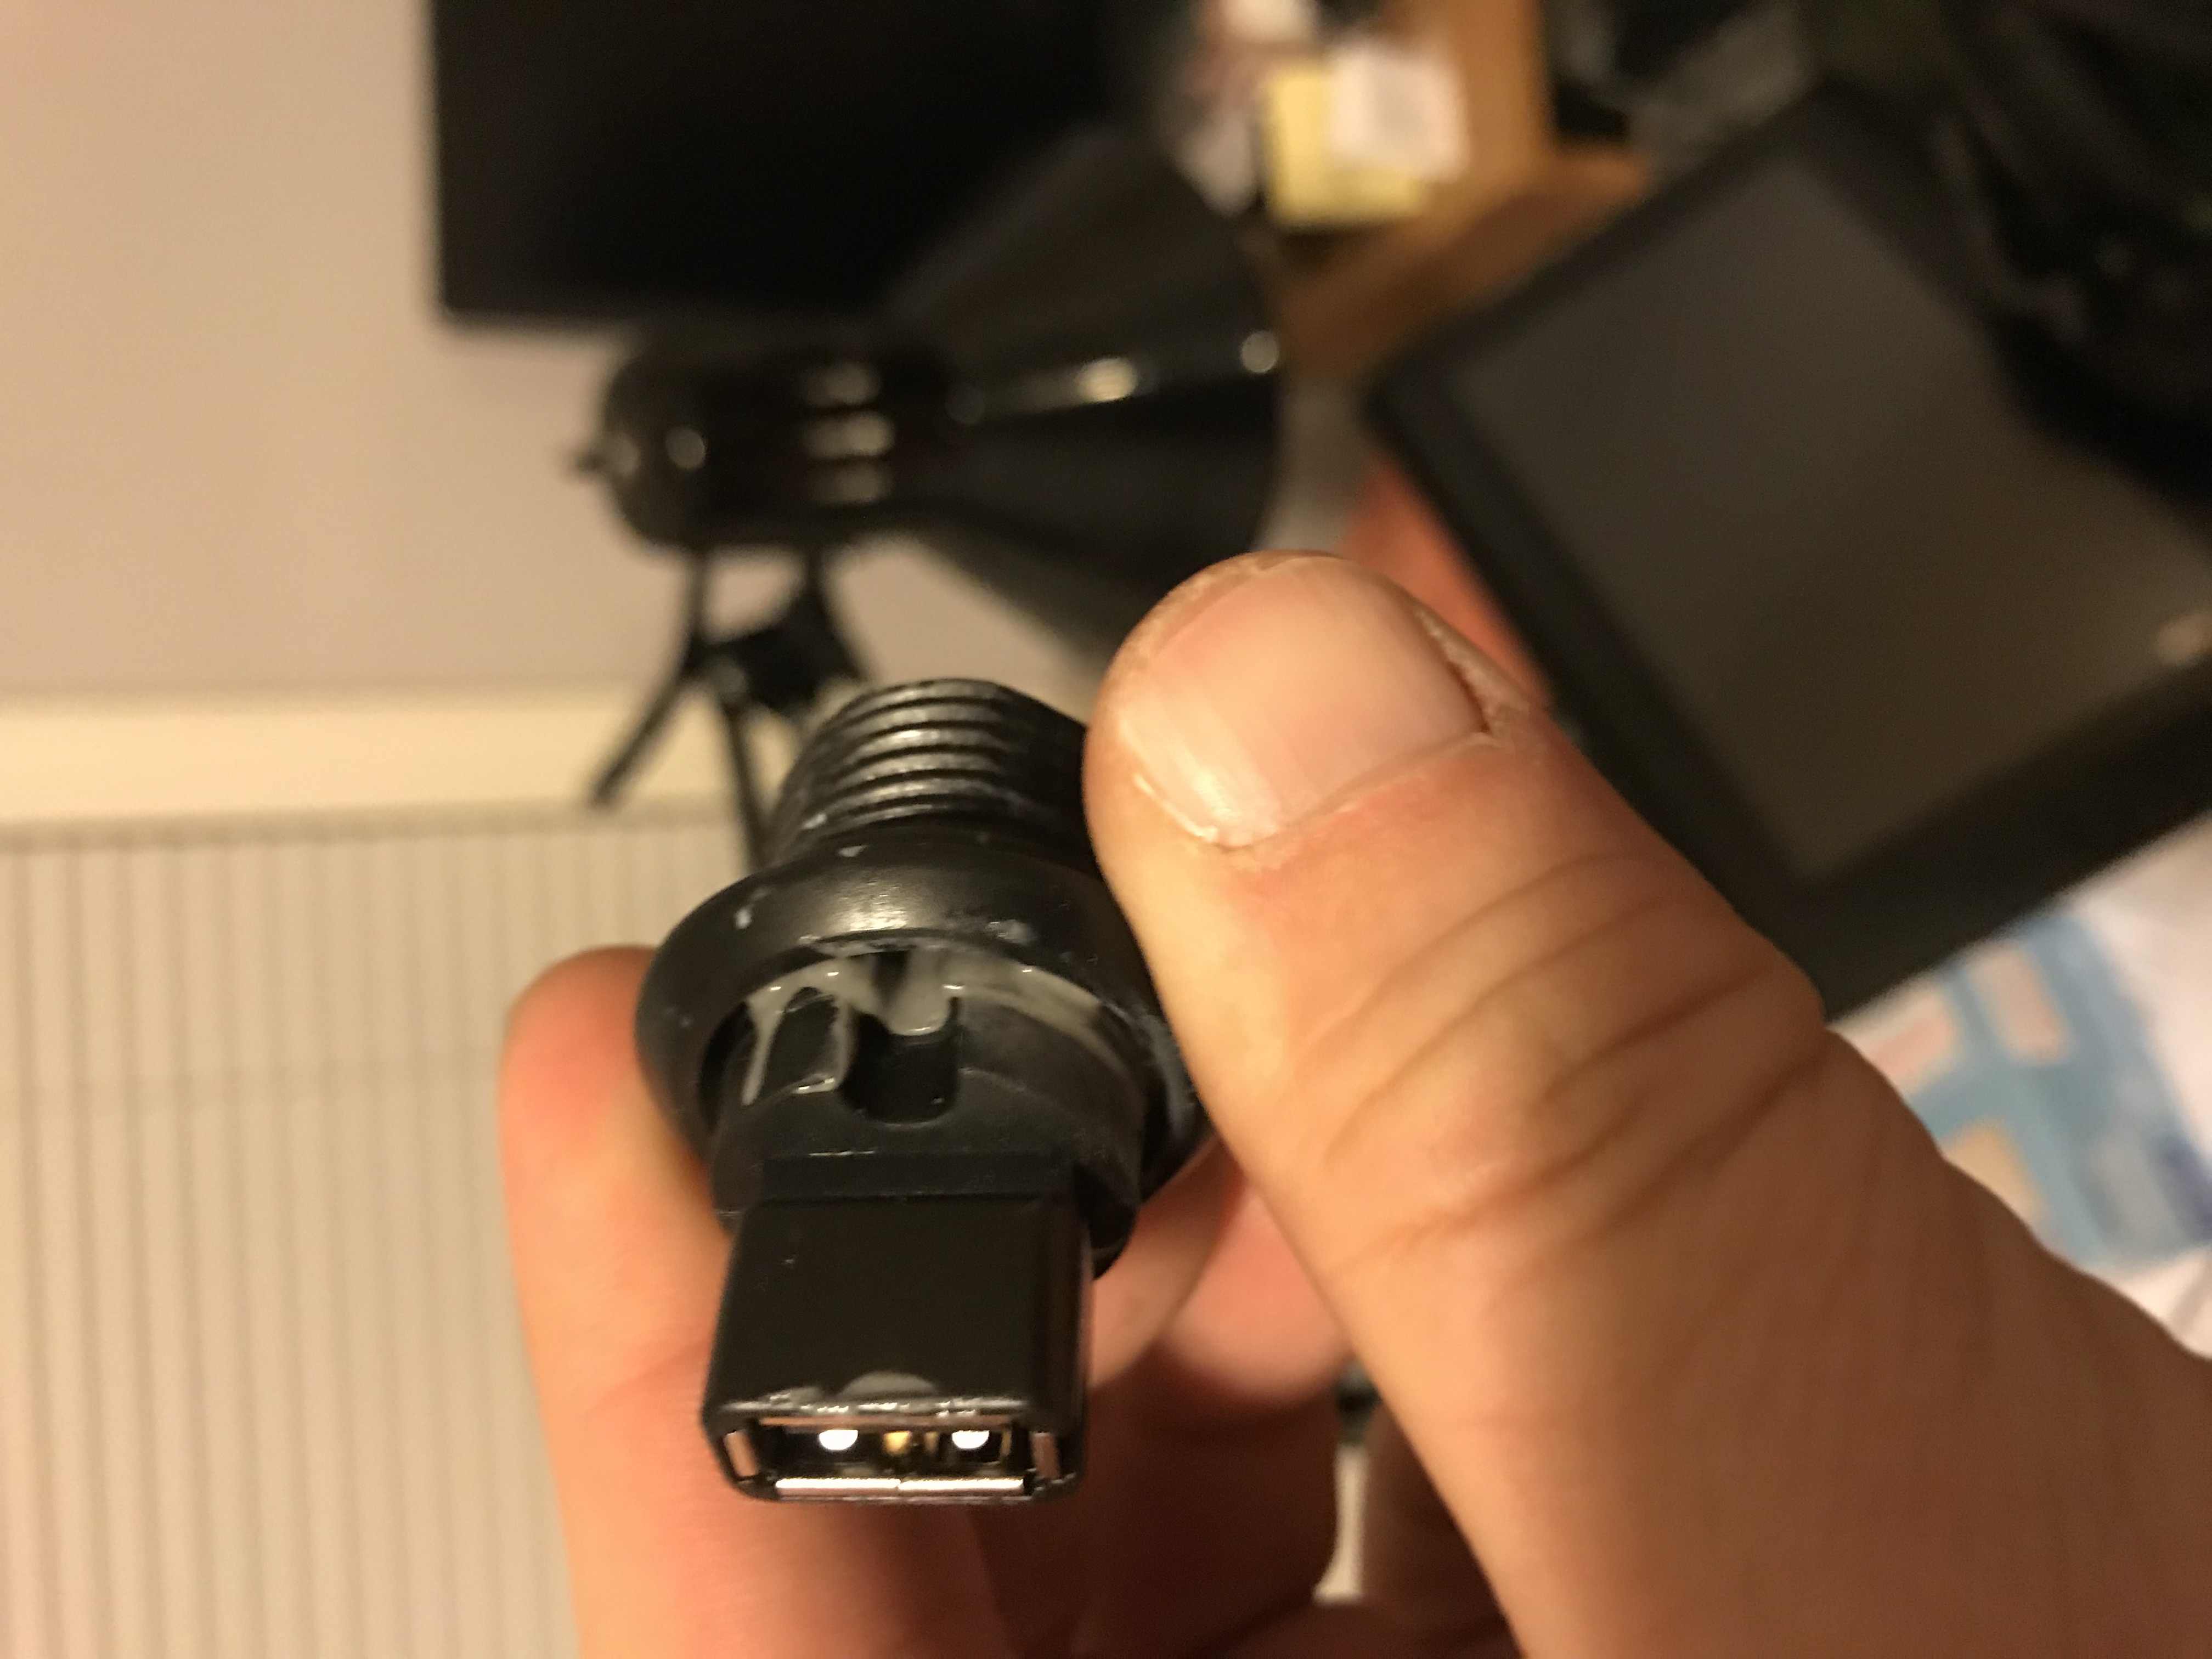
USB buttons were really fun to fabricate; my wife Max helped me do this work. So the net result is the combination of a hollowed out arcade button housing and a slightly modified Neutrik connector for USB B->A adapters. This allowed me to keep consistency with the other type B interfaces (the brook boards) in the control board which mattered later when I built a breakout in the back of the wood for connecting to the rest of the arcade.
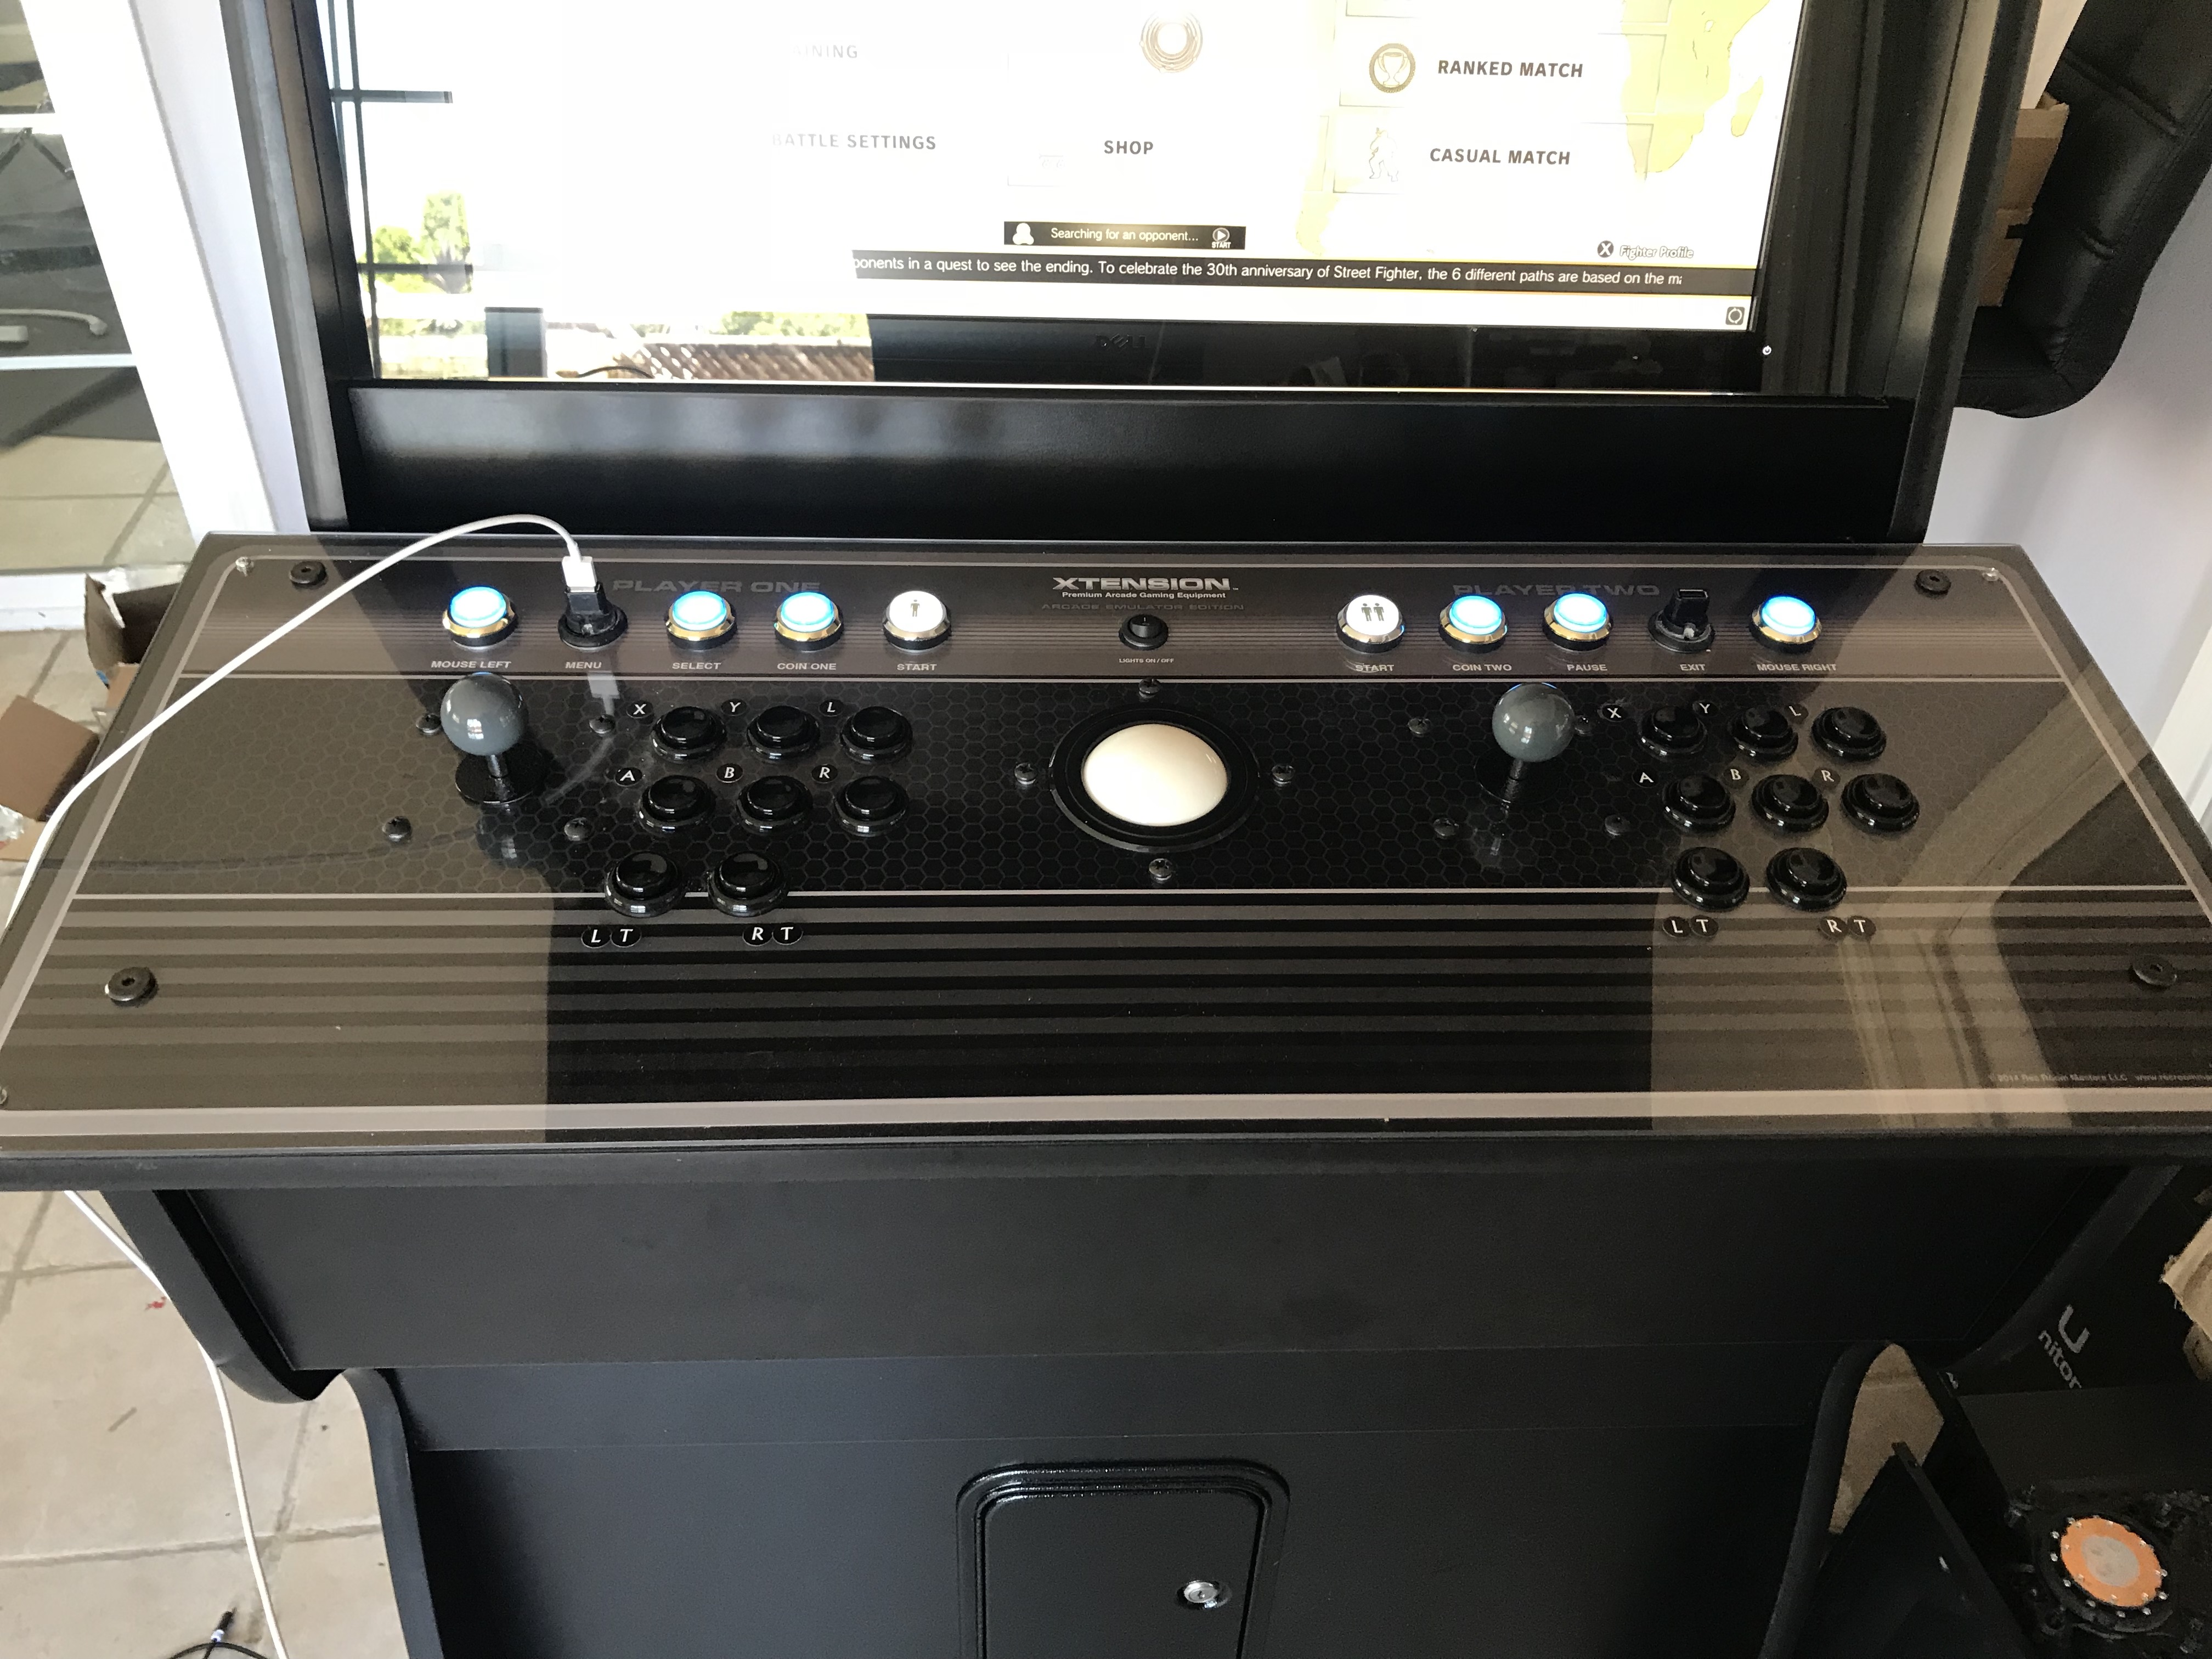
Also pictured here are the addition of Sanwa JLF sticks, which are much less tense than the Happ sticks, providing a better feel for me. I found them much nicer in platformers to use. I found some adapter plates made by KOWAL on https://focusattack.com to fit the Sanwa joystick mount into the Happ-compatible control board mount, which is larger. You can also see the lighting on the buttons.
Cabinet Art & Color Change
The cabinet art was also done by Max, and is largely mentioned because it resulted in a color scheme change with the buttons. This is this the first time I really started playing with the artistic properties of the control board, which I started to become obsessed with eventually.
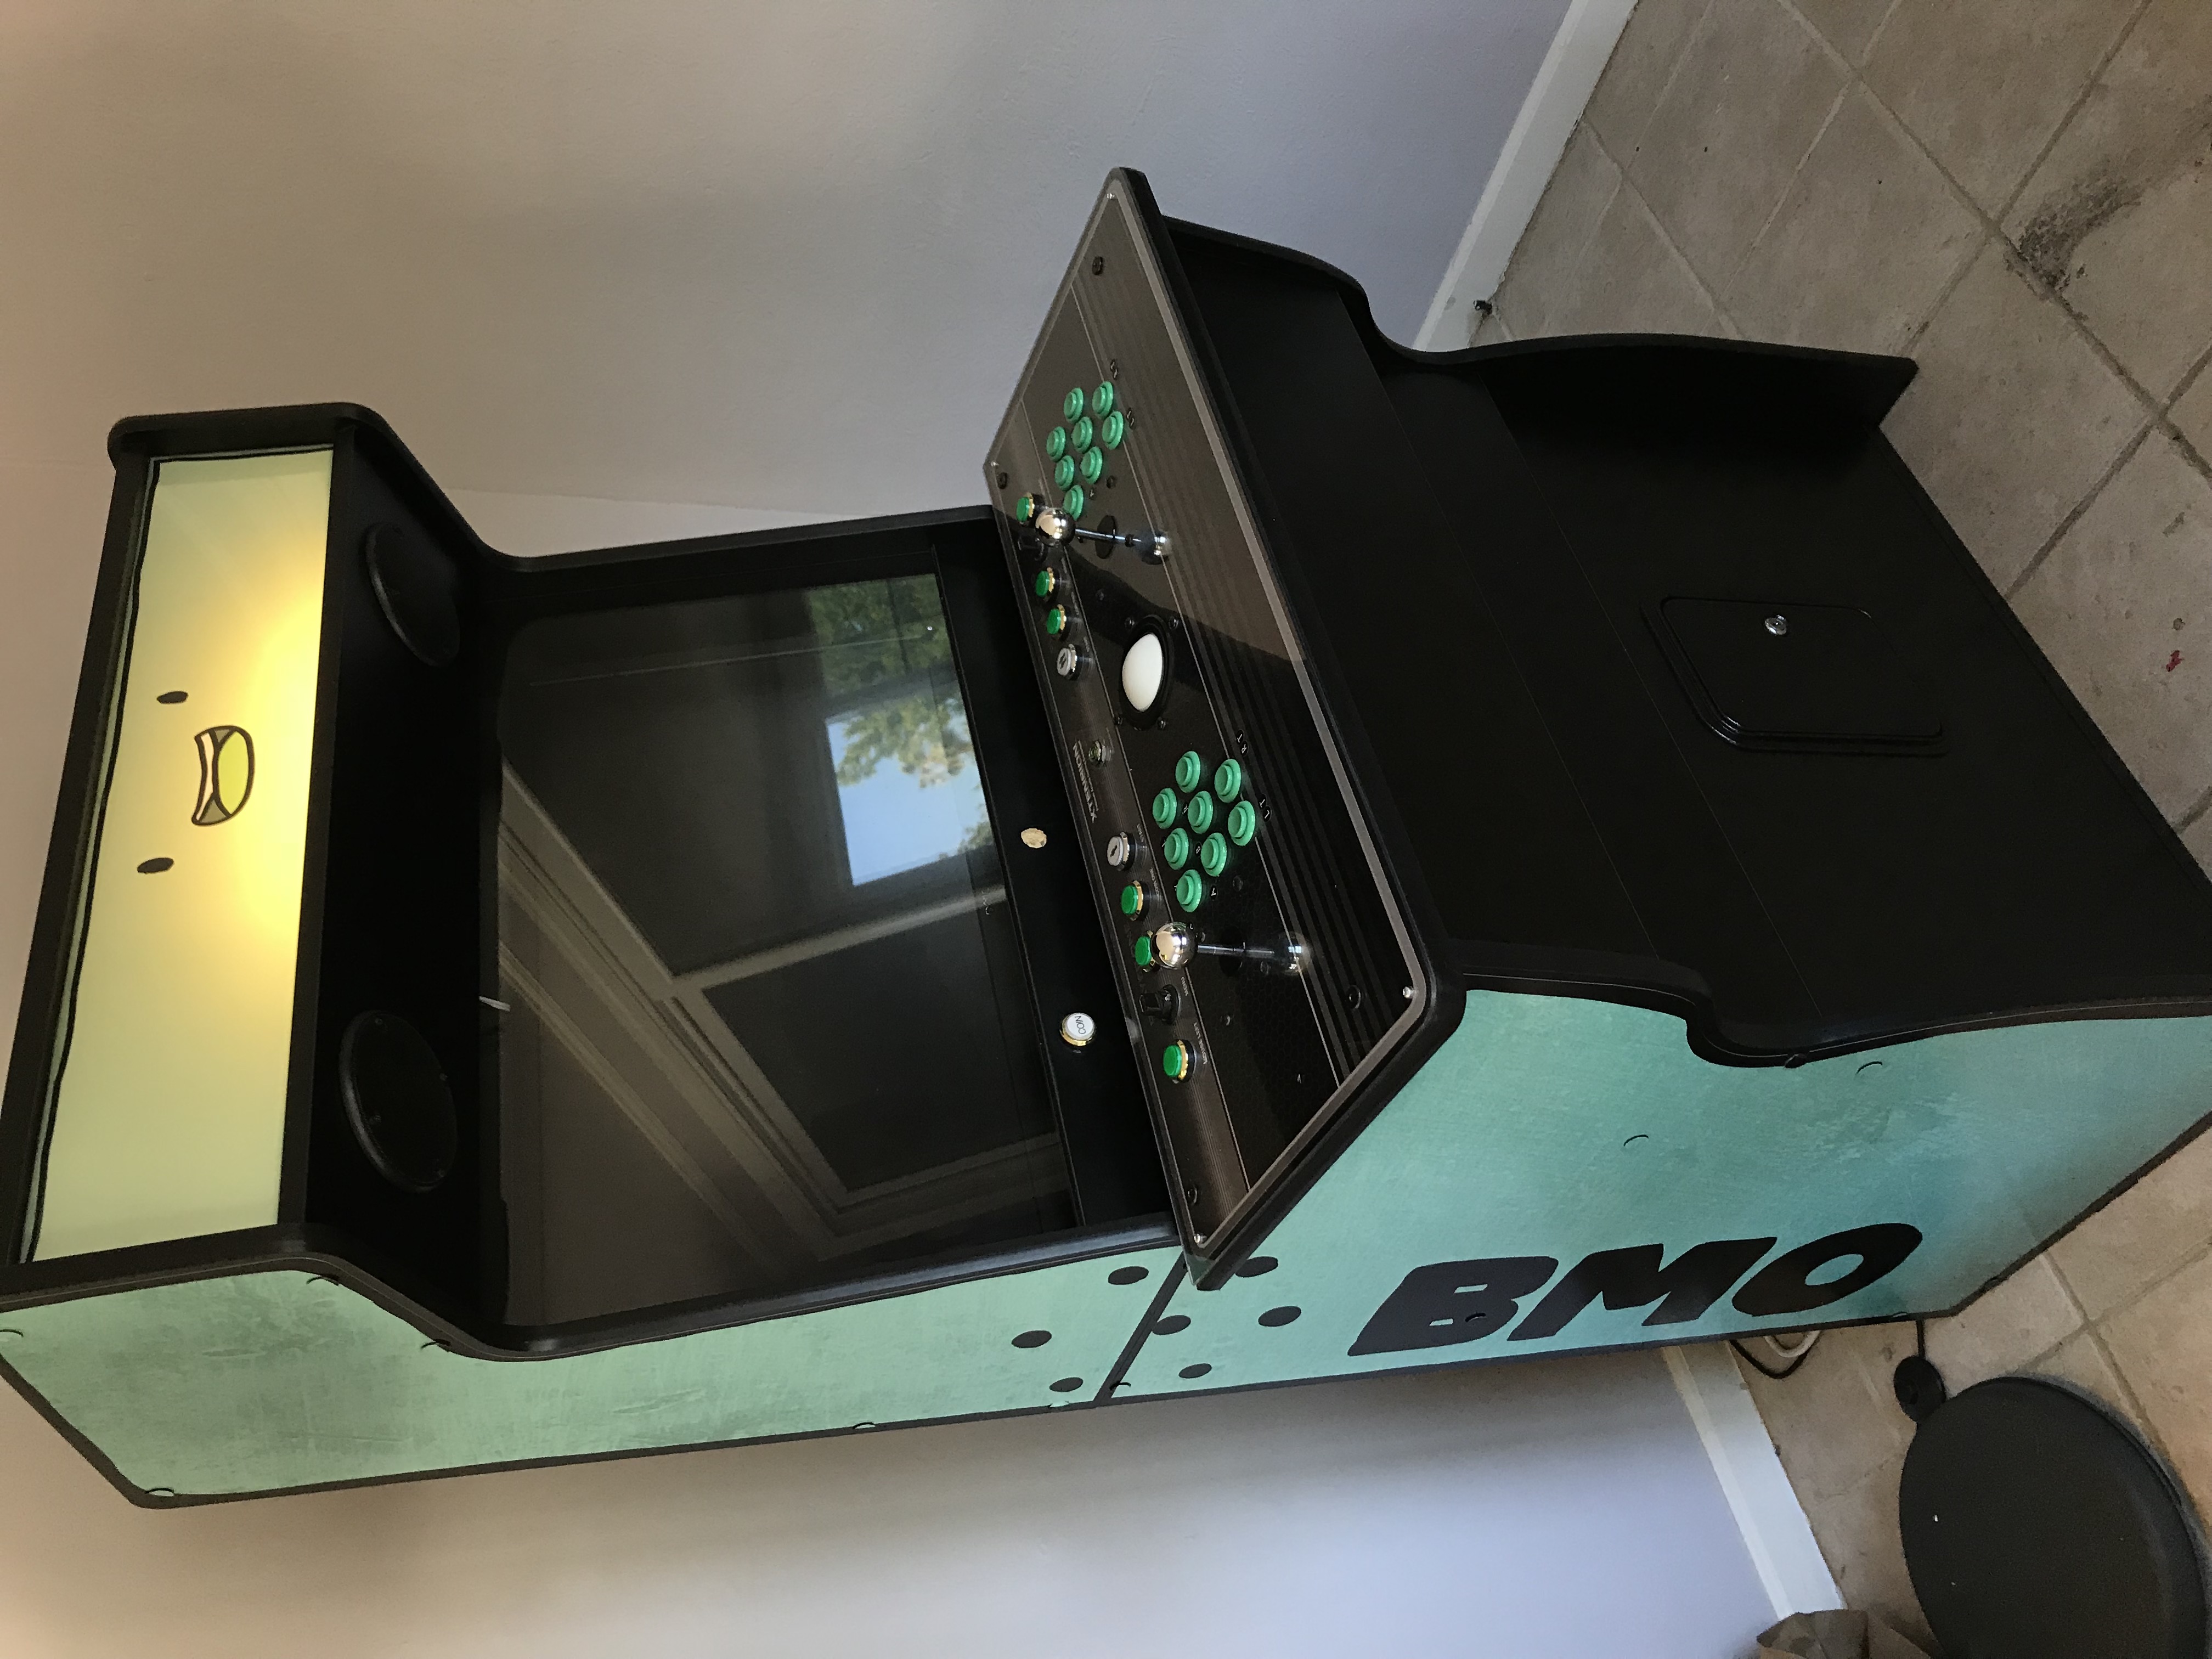
We went with a theme centered around Adventure Time’s character BMO, and this will creep slower and slower into our article as we venture down that transformation.

Phase 2: The full build
After doing all this with my stick I really disliked a lot about the Xtension Emulator Edition stick. The button layout in particular with the three rows was unwieldy especially for fighting games, but also for games like Dead Cells which use the entire controller. While I could have drilled two more holes, that would have left the bottom holes empty and would have collided with the trackball.
A full cut pictured below was made by Ximao Miao, a friend (linked are some of his works in silver). The cut includes a 2x4 button layout, more definition between the control buttons and the USB ports, and support for mouse buttons near the trackball.
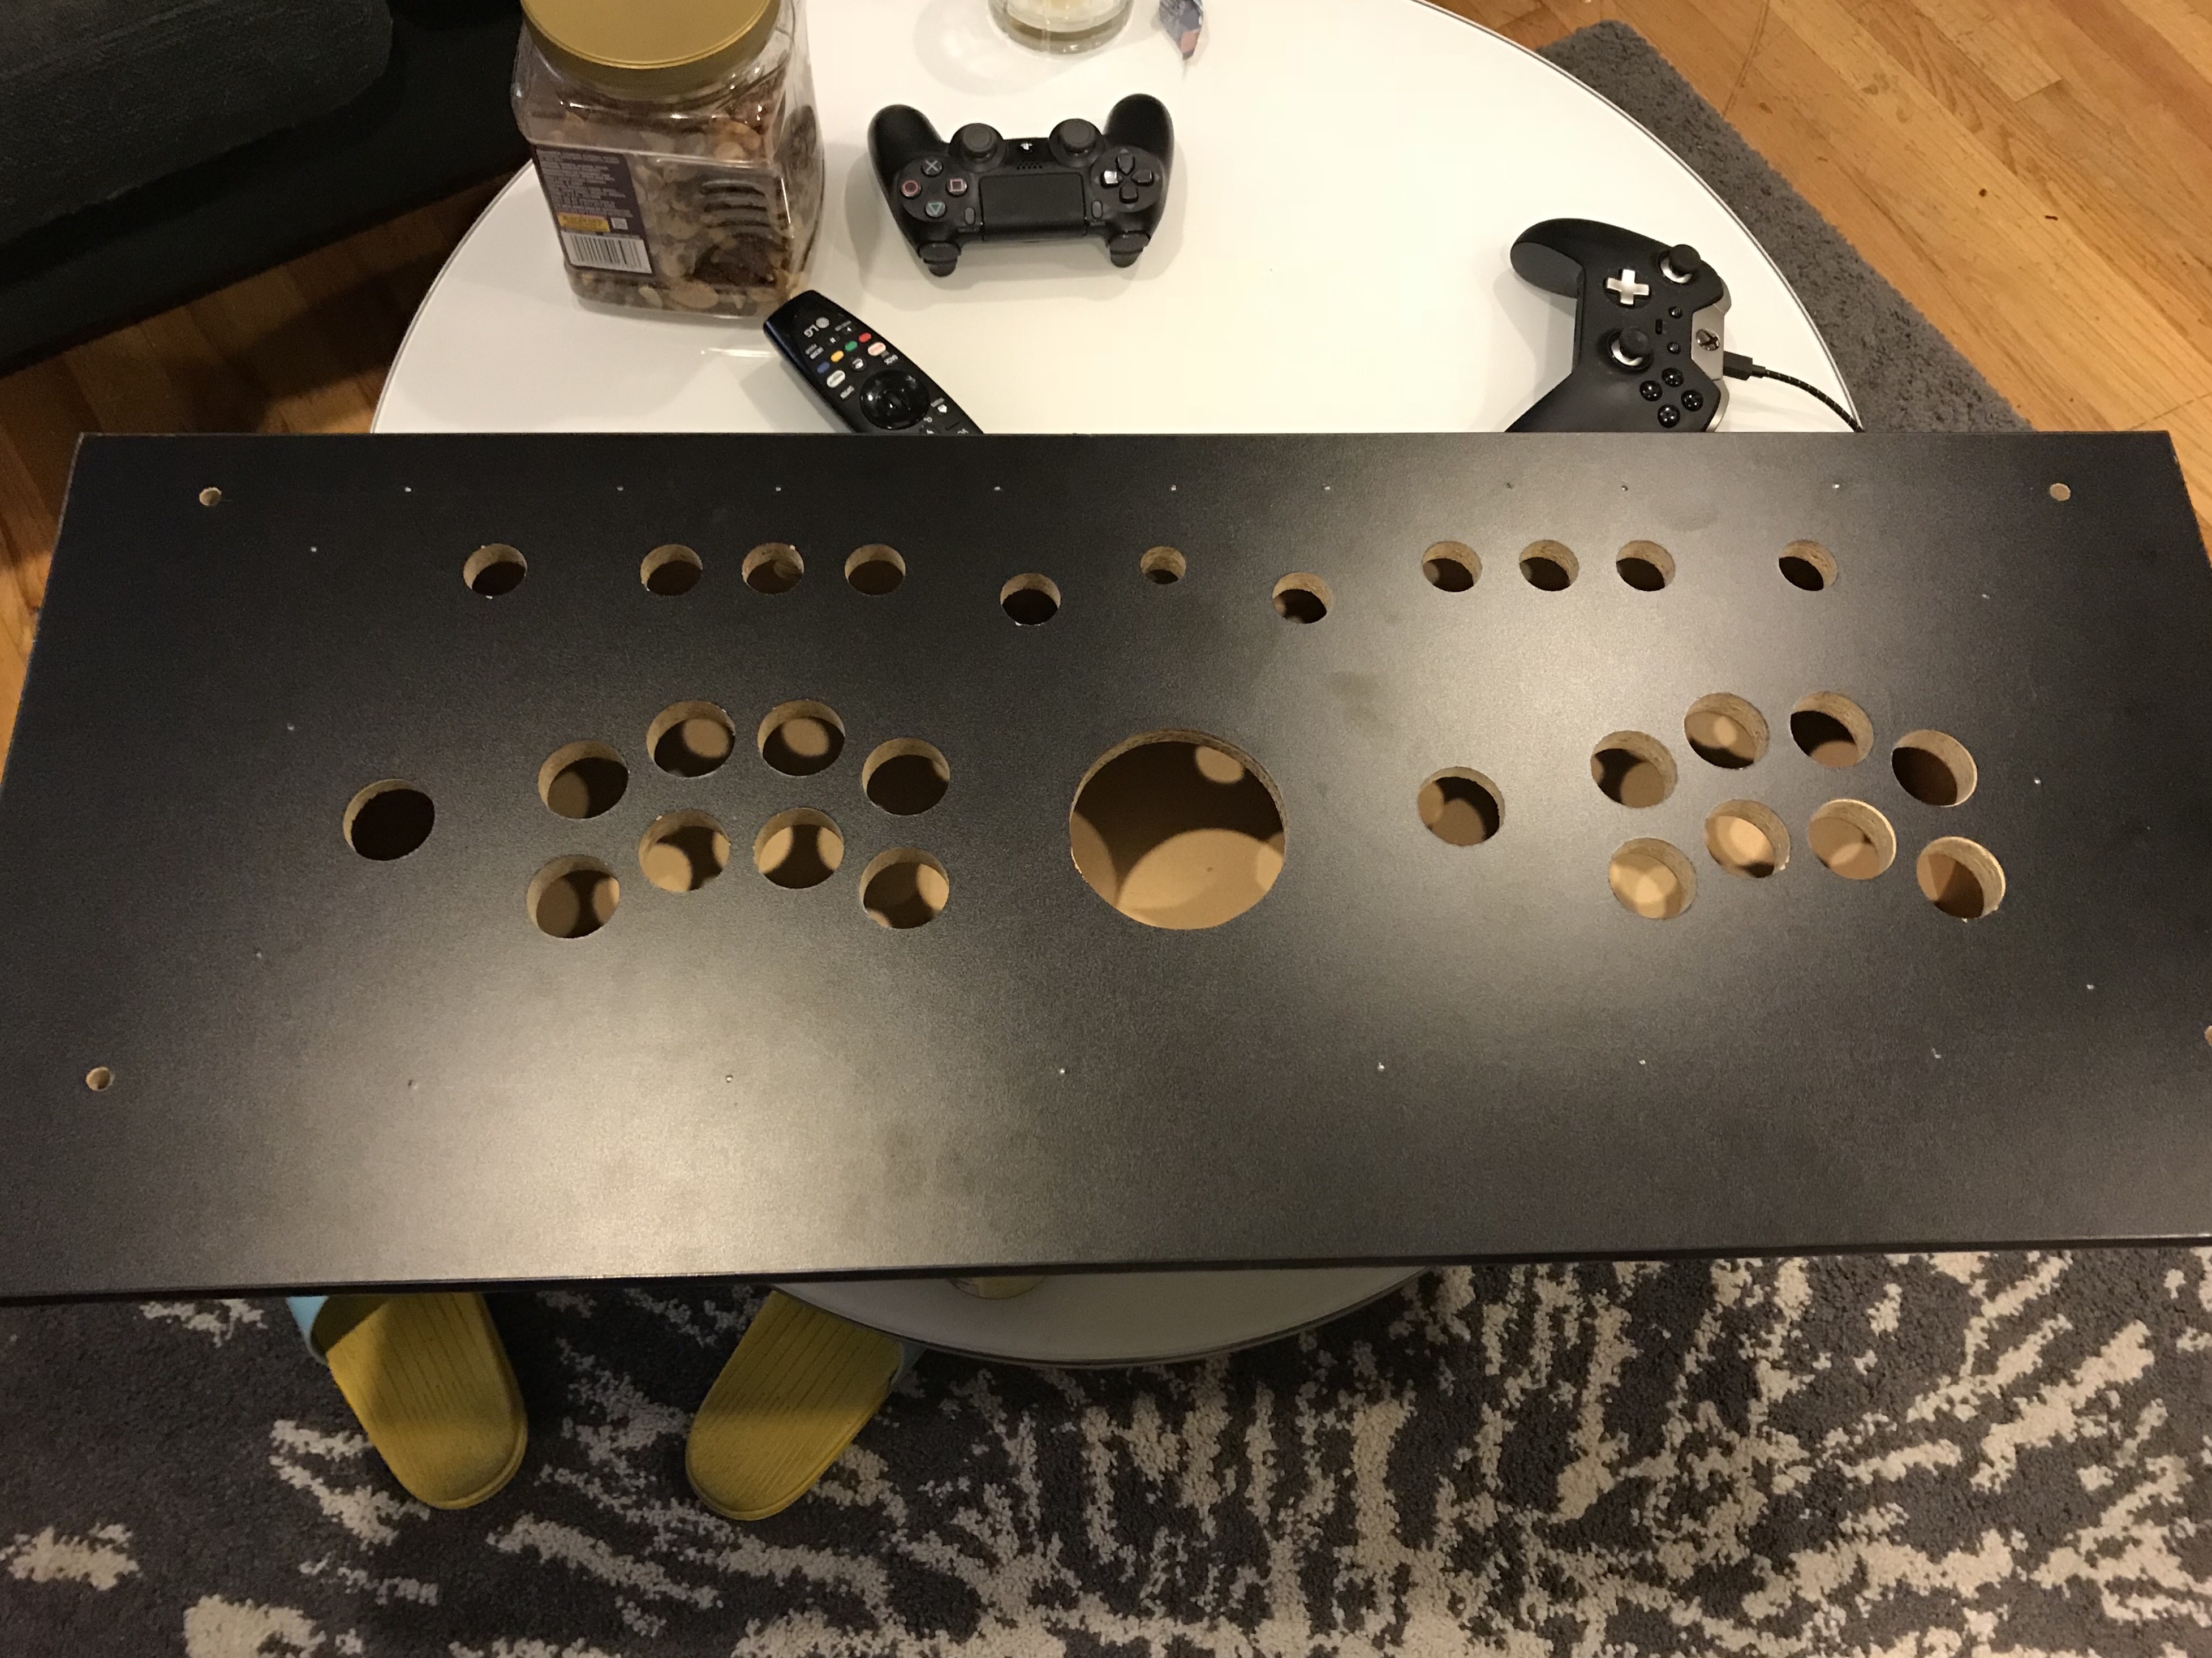
A laser cut acrylic piece was made by Ryan Acks for a small fee. The acrylic in this case is what actually holds the Sanwa OBSF snap-in buttons. The acrylic is 1/8” thickness which is what the buttons need to “snap”. Since we went with metallic silver for the color, these are actually the 30mm OBSJ models. Green LED buttons are still used at the top. A new silver/green LED latching push button switch is installed to mimic the BMO theme and control the lighting.
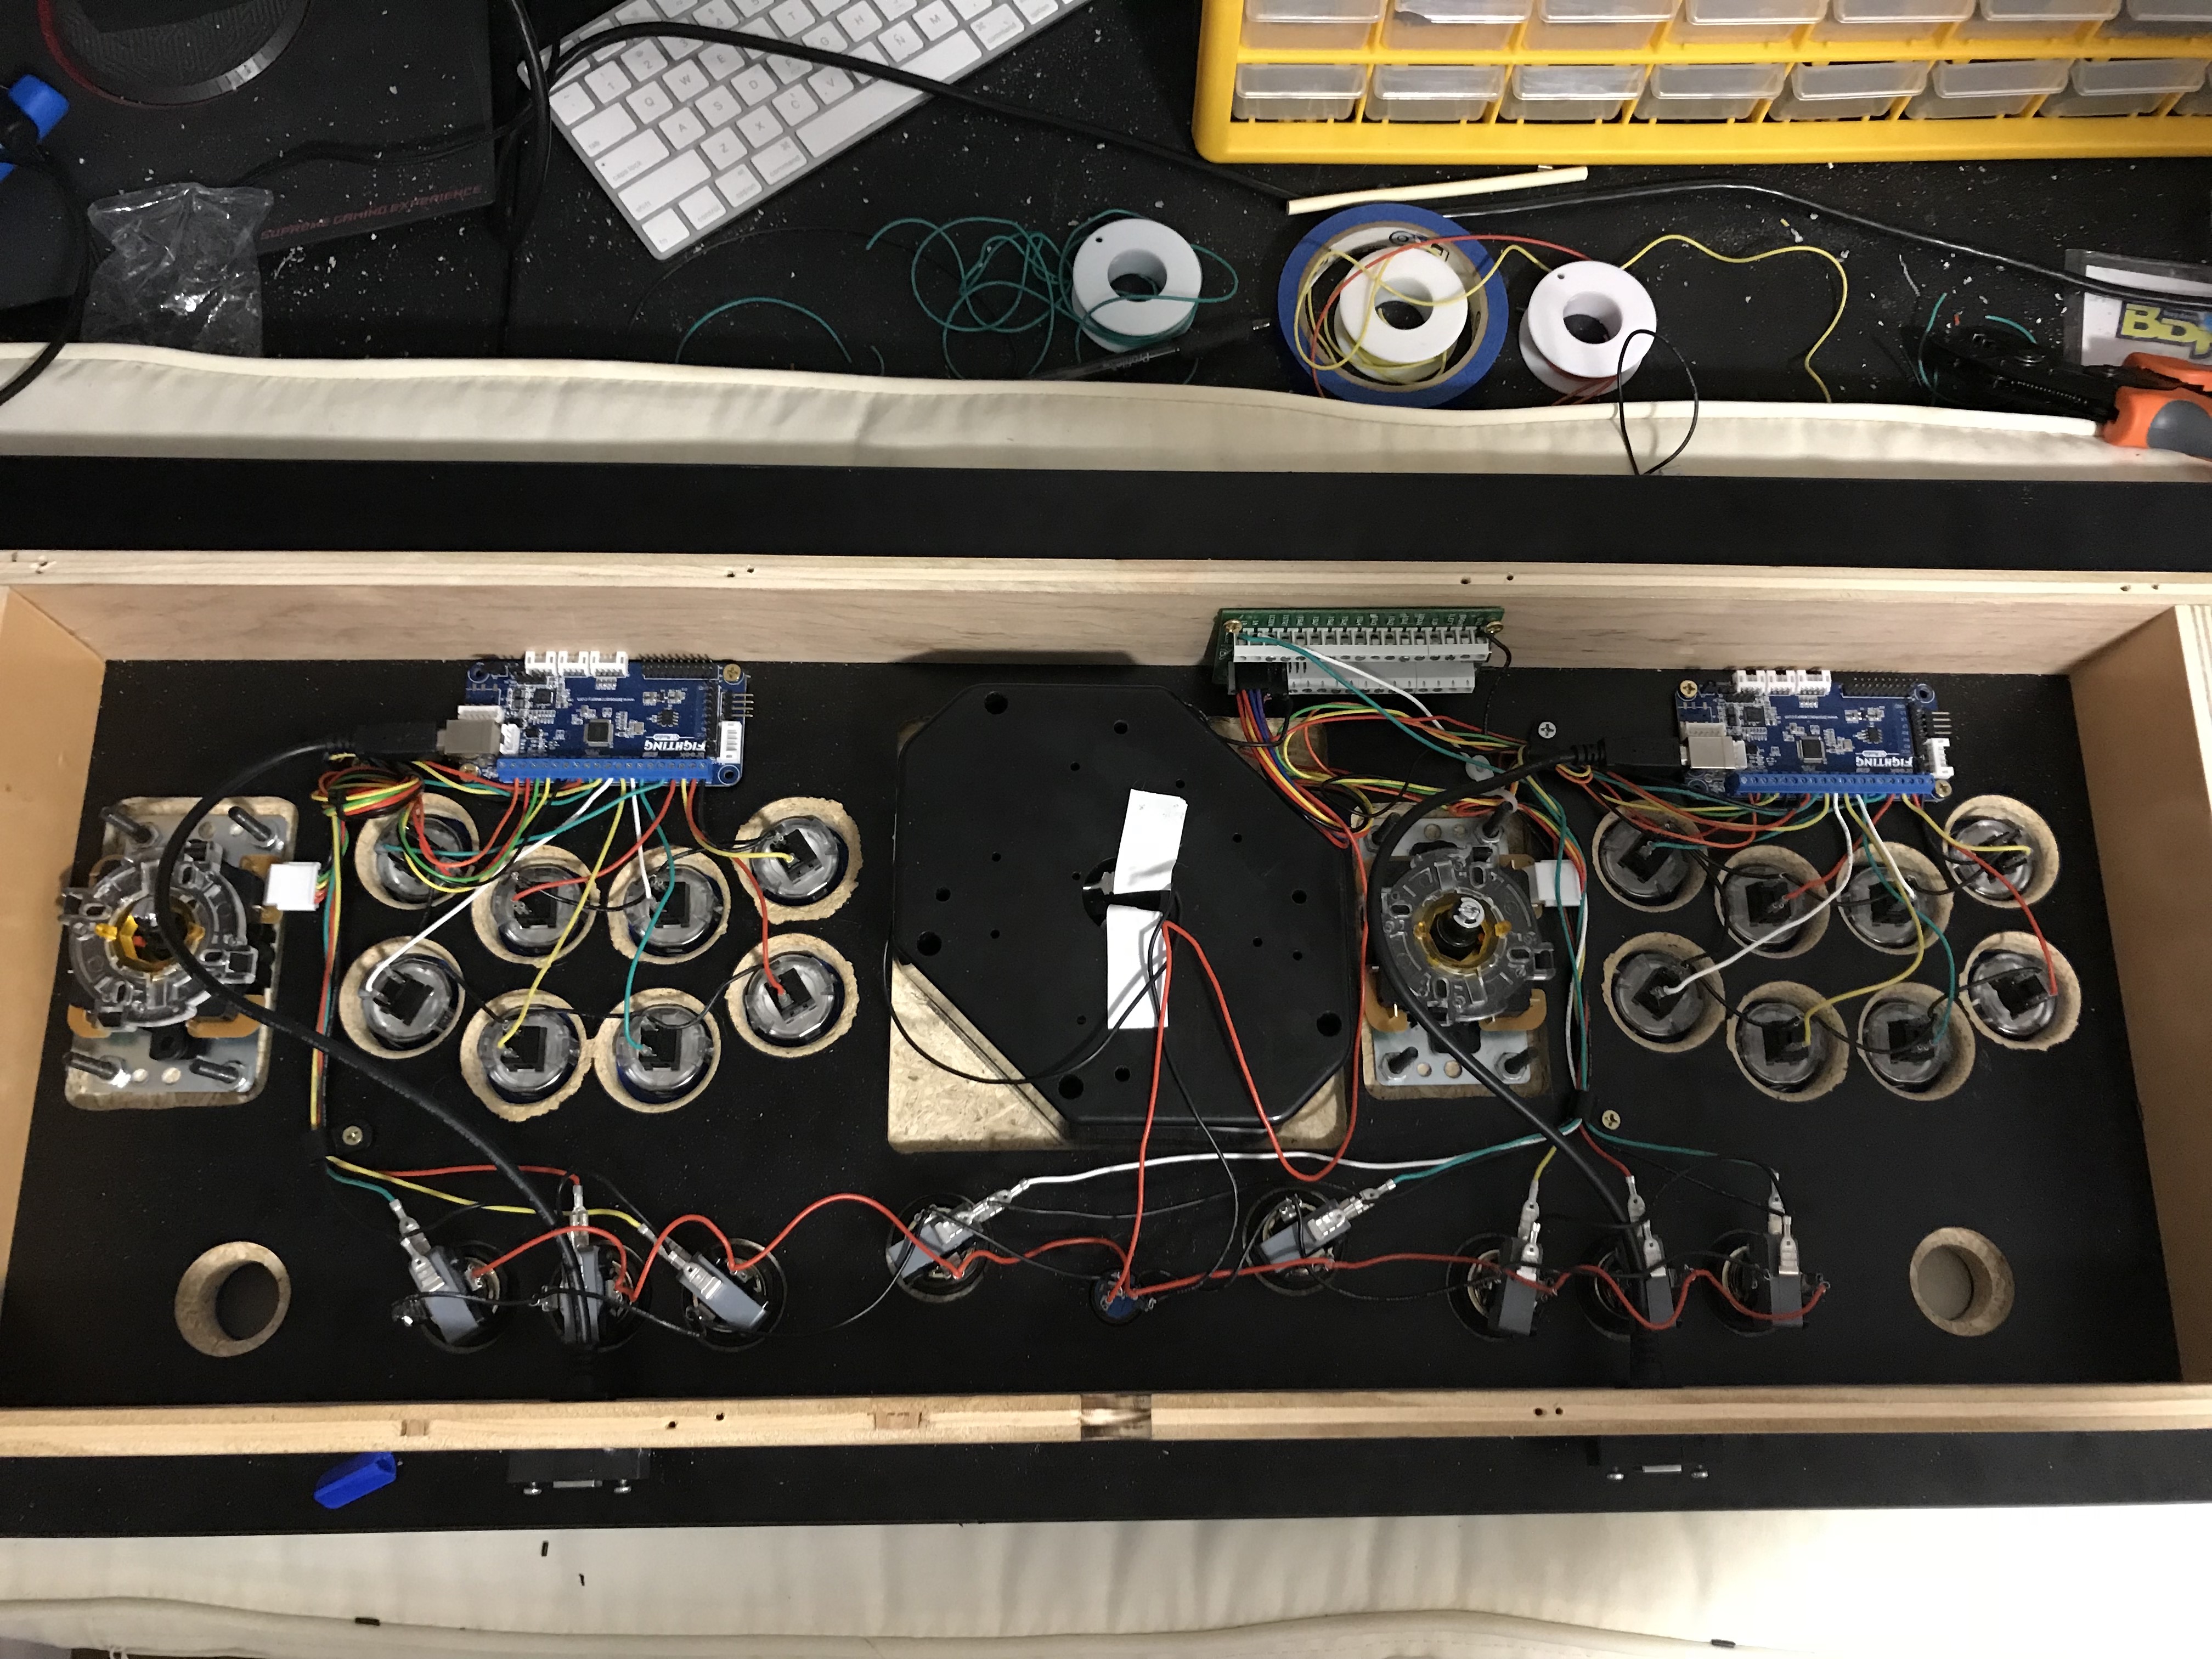
The wiring here is some of my proudest. I am not especially good at this but I feel I did well in this iteration.
The Art’s next; but first, a diversion
So this happened, and we all took a break for a bit:
(This is my lame excuse to slap you in the face with a kid photo.)
Finally! The art.
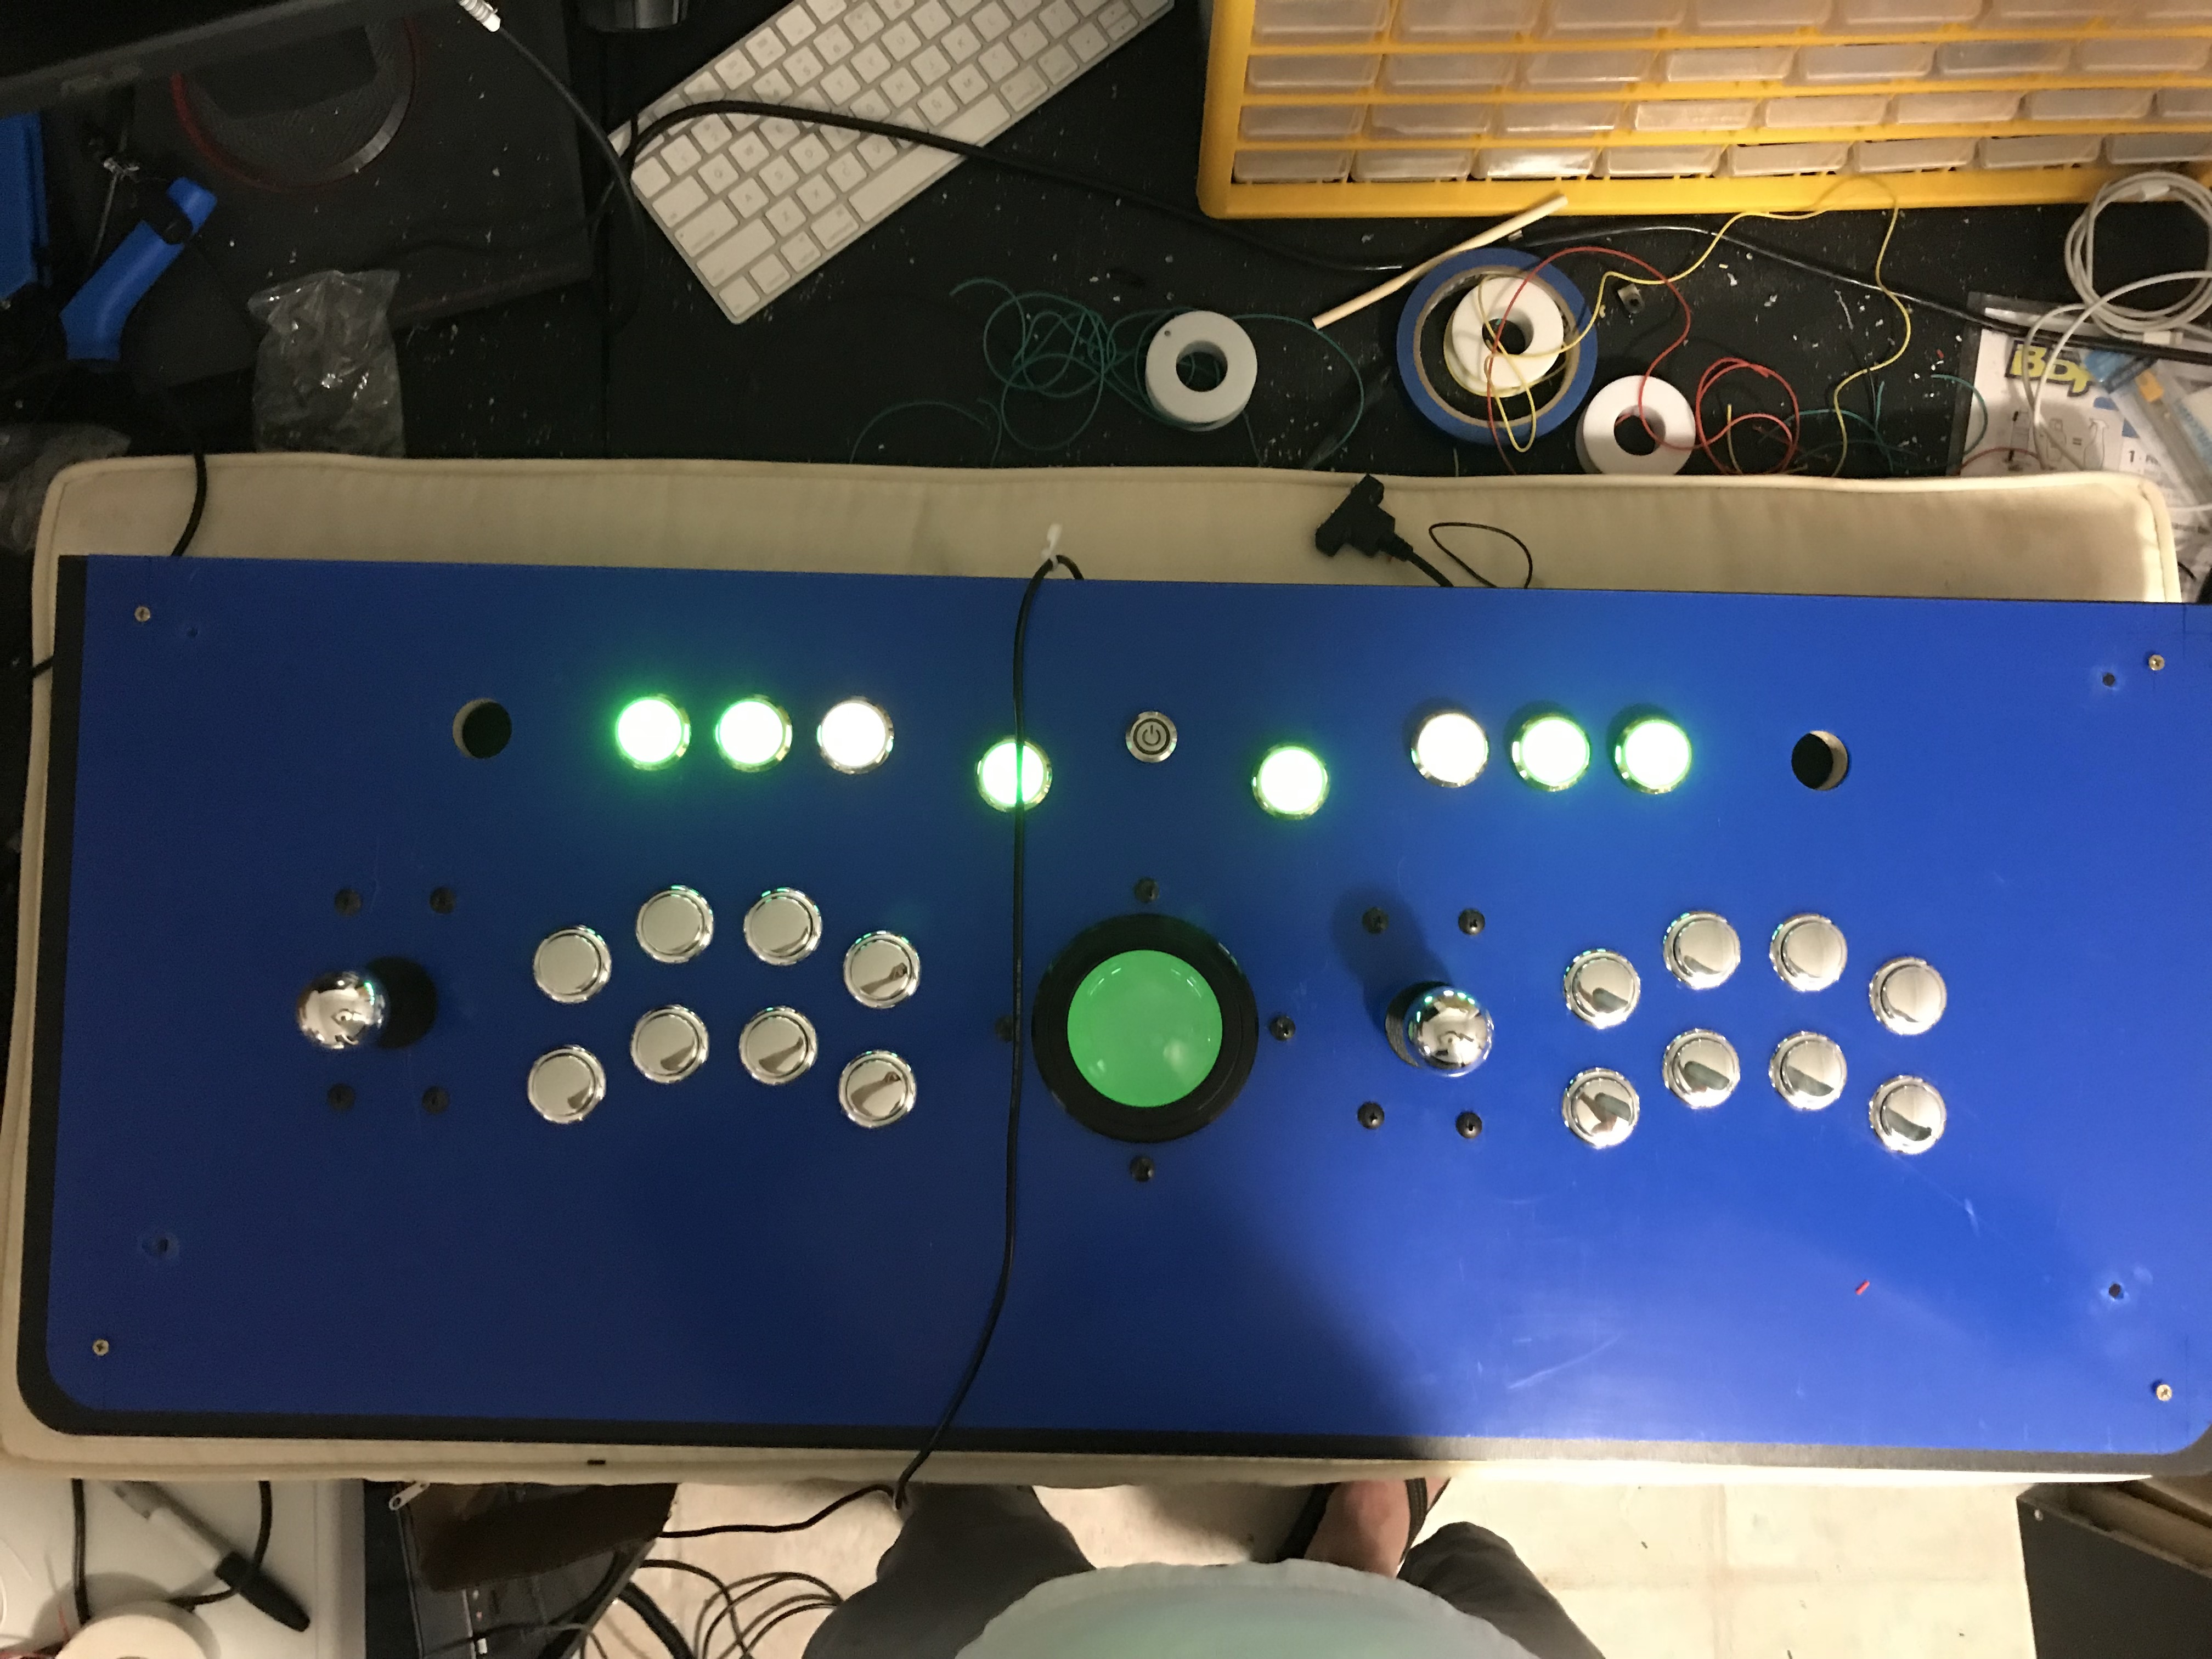
The art installation was done in the last week. I think it came out great. Max again did the artwork on poster board, with acrylic paint. I rewired most of the stick as well as repaired the joysticks.
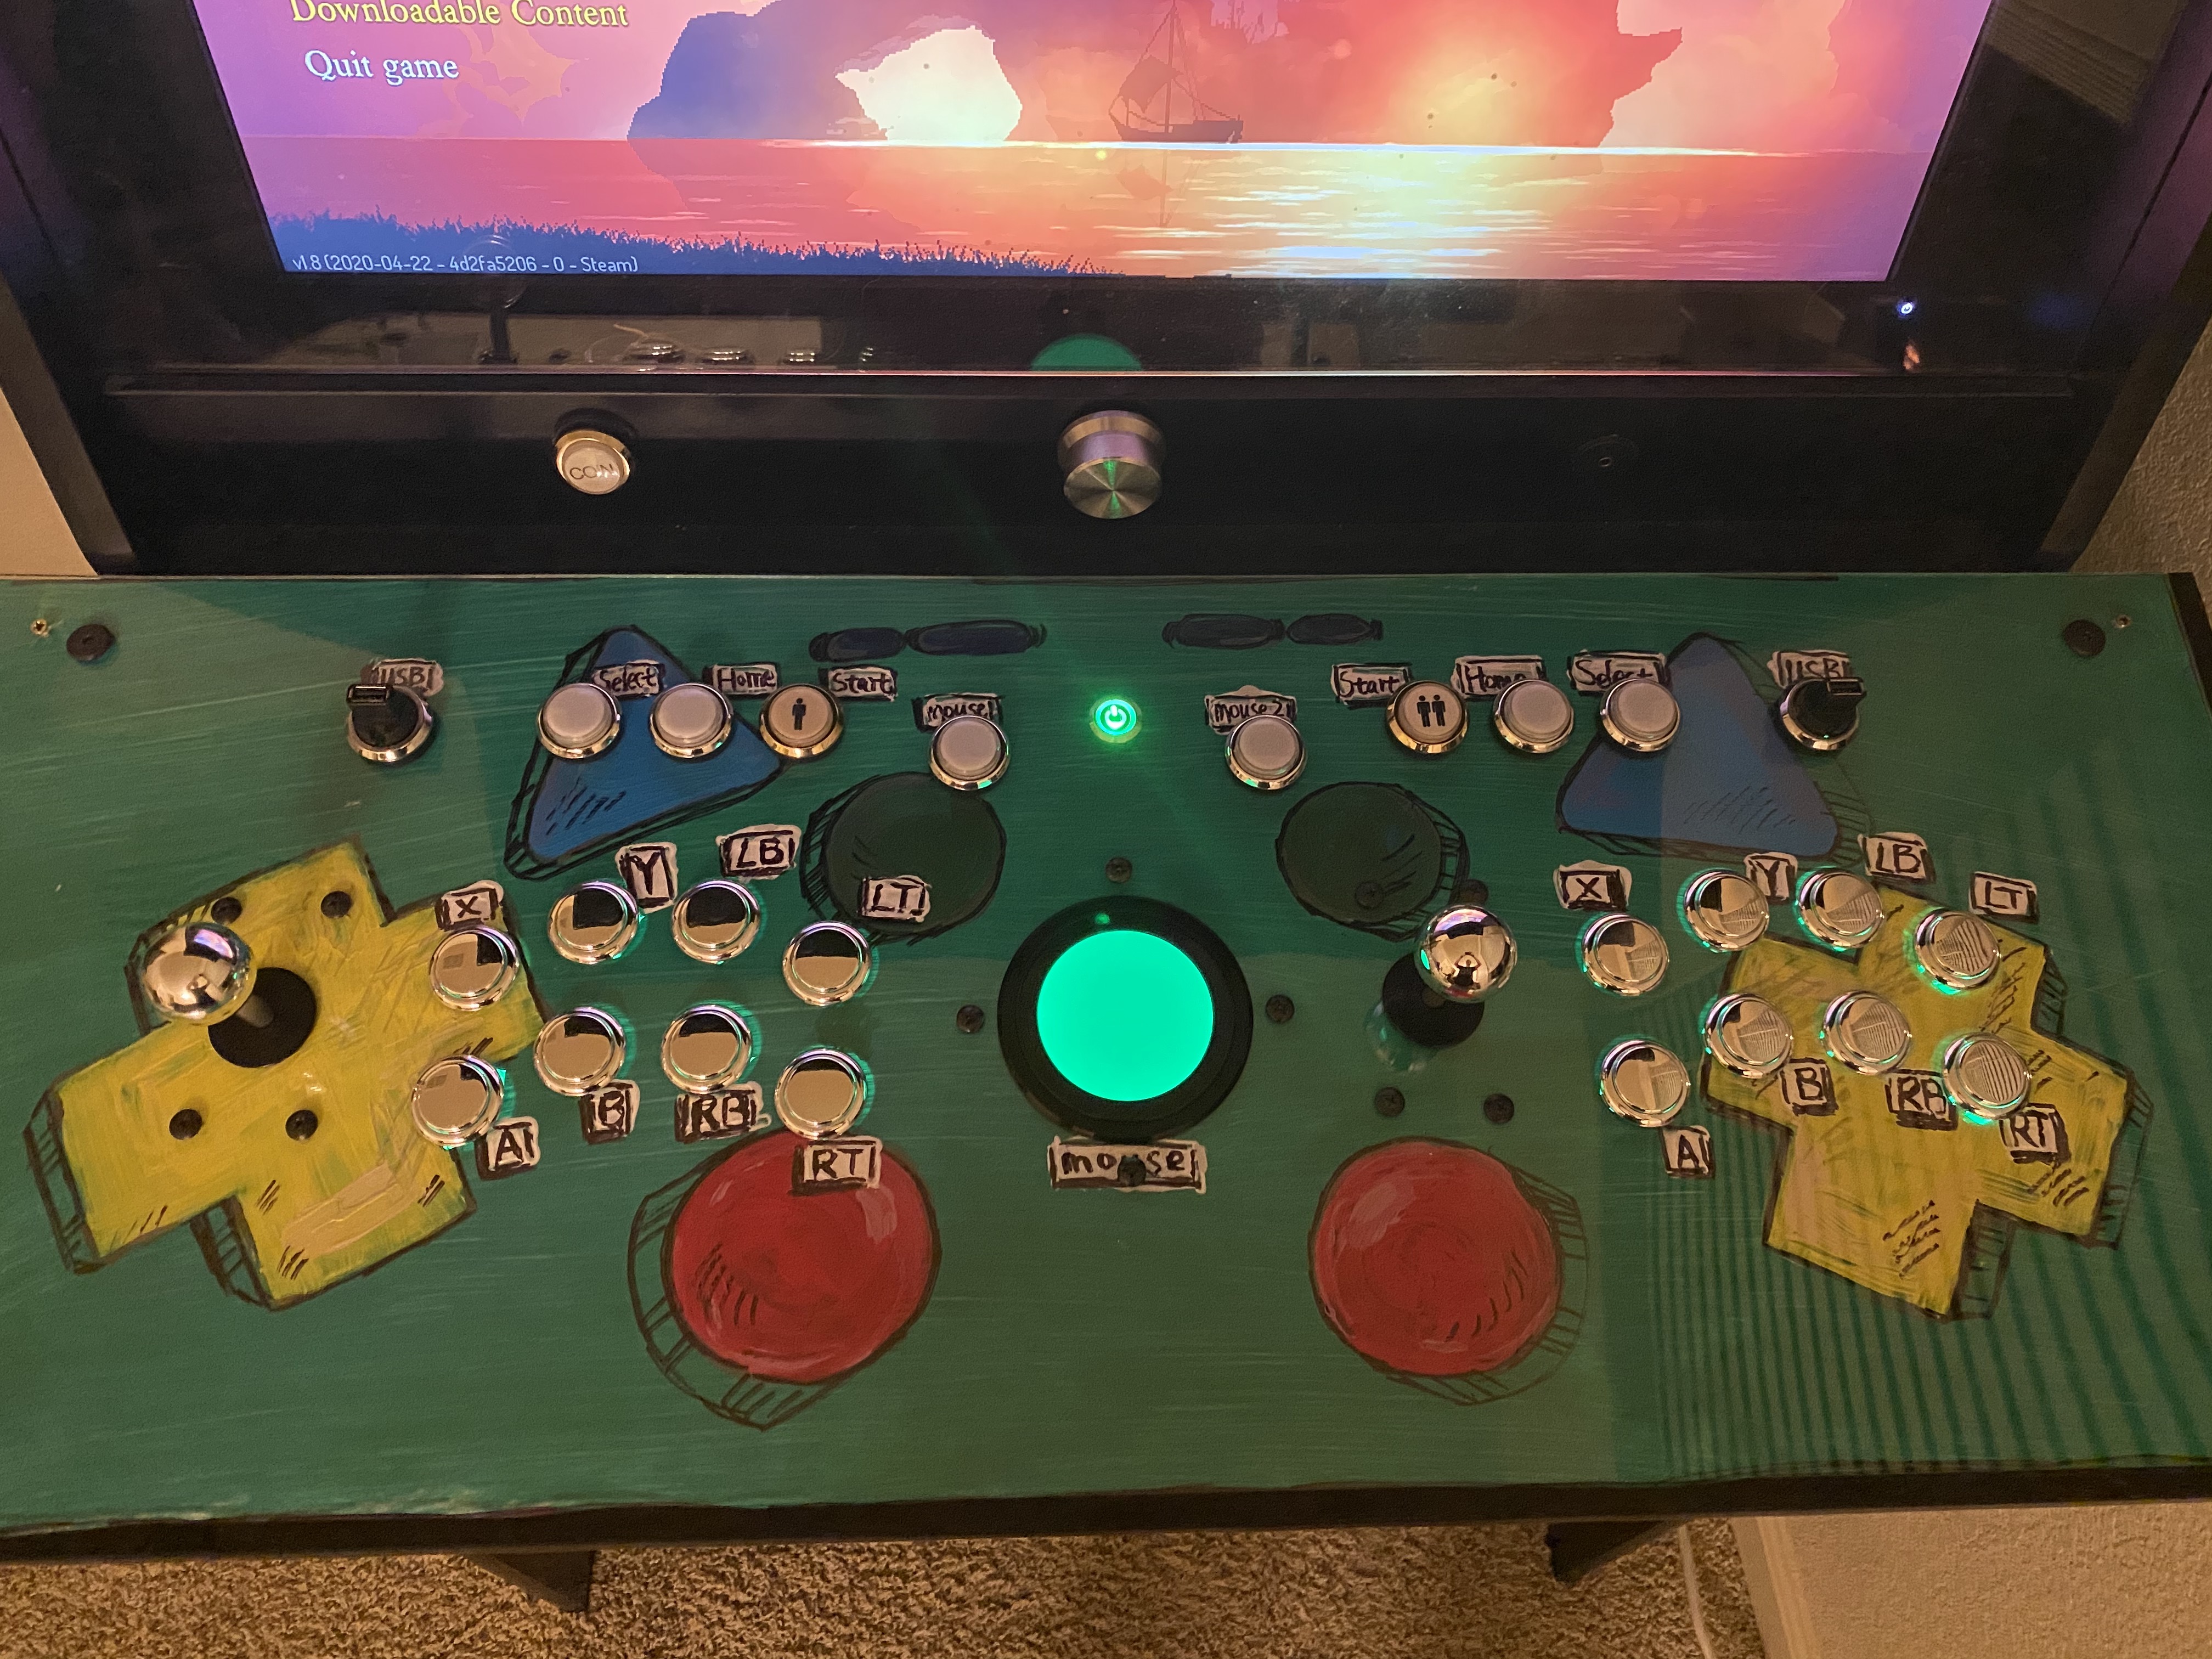
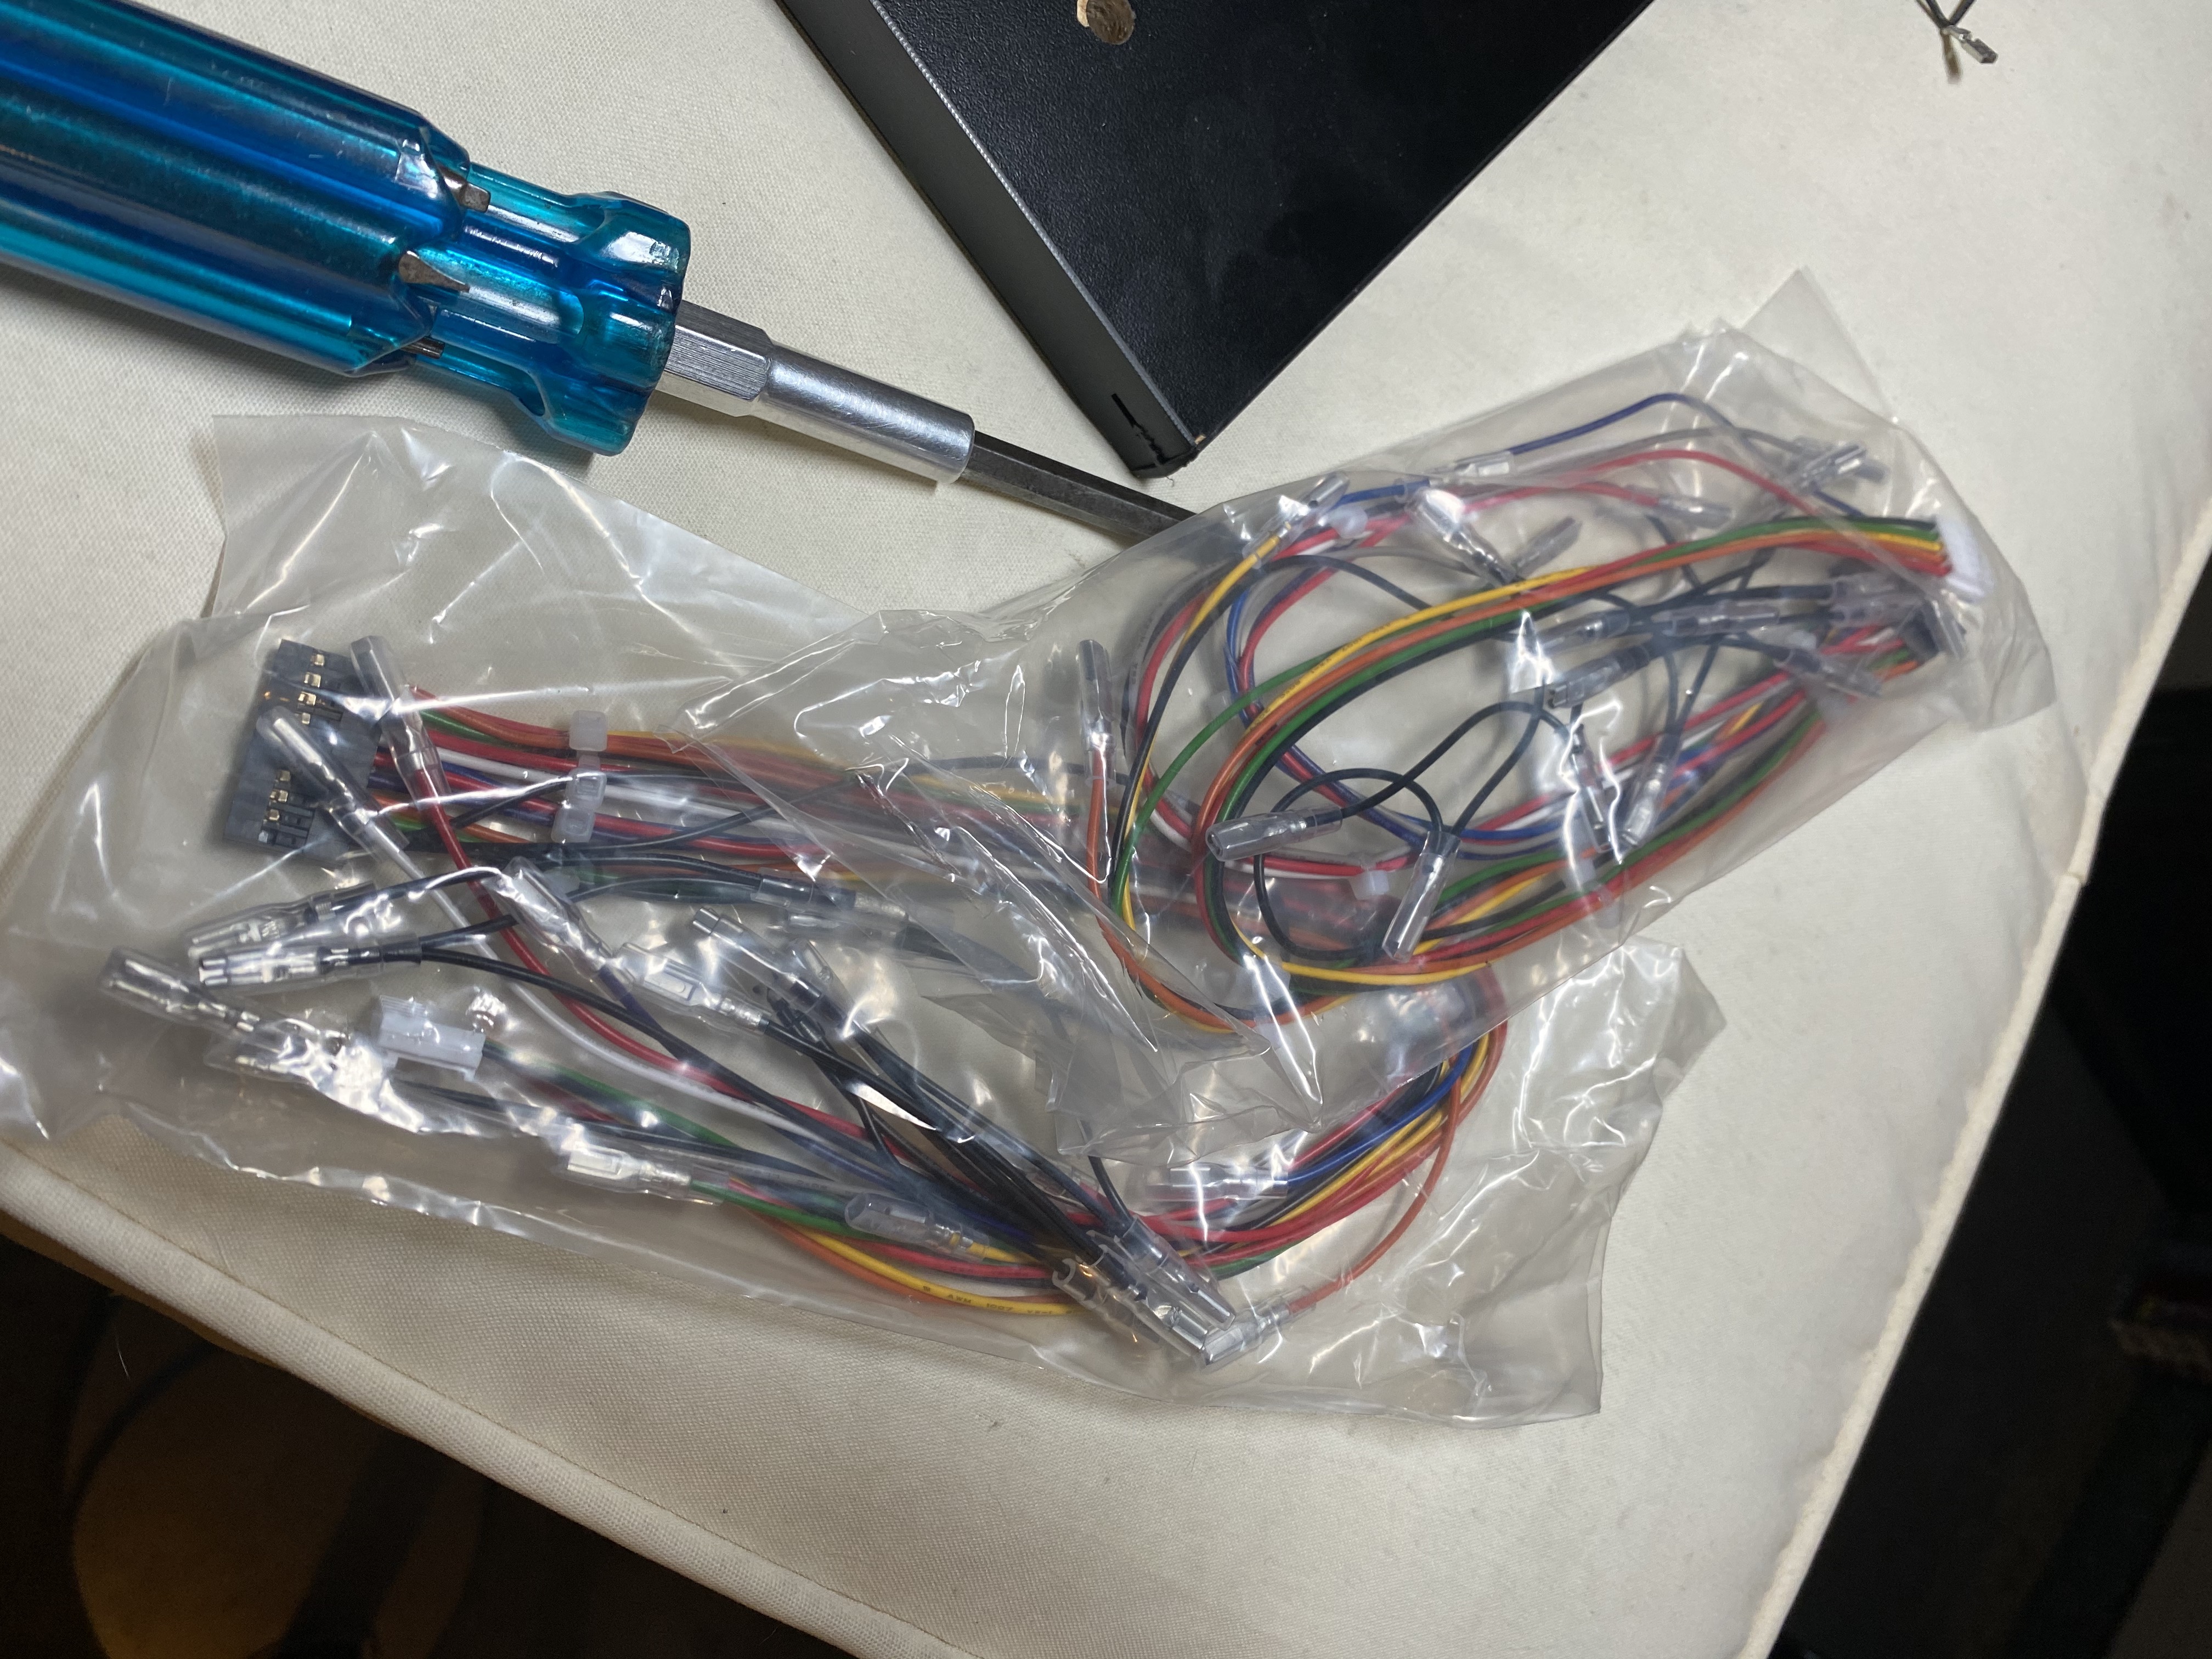
This time I didn’t want to fiddle with the wiring. Luckily, https://focusattack.com has pre-wired harnesses for the Brook boards I use, so I purchase two of those and modified them to work with the LED buttons, which use a .187 connector (sanwa OBSF buttons use a .110 connector, so the harness only has those connectors).
Here’s close to the final wiring job. I felt I was lazier this time but also spent less time on it (because I had less).
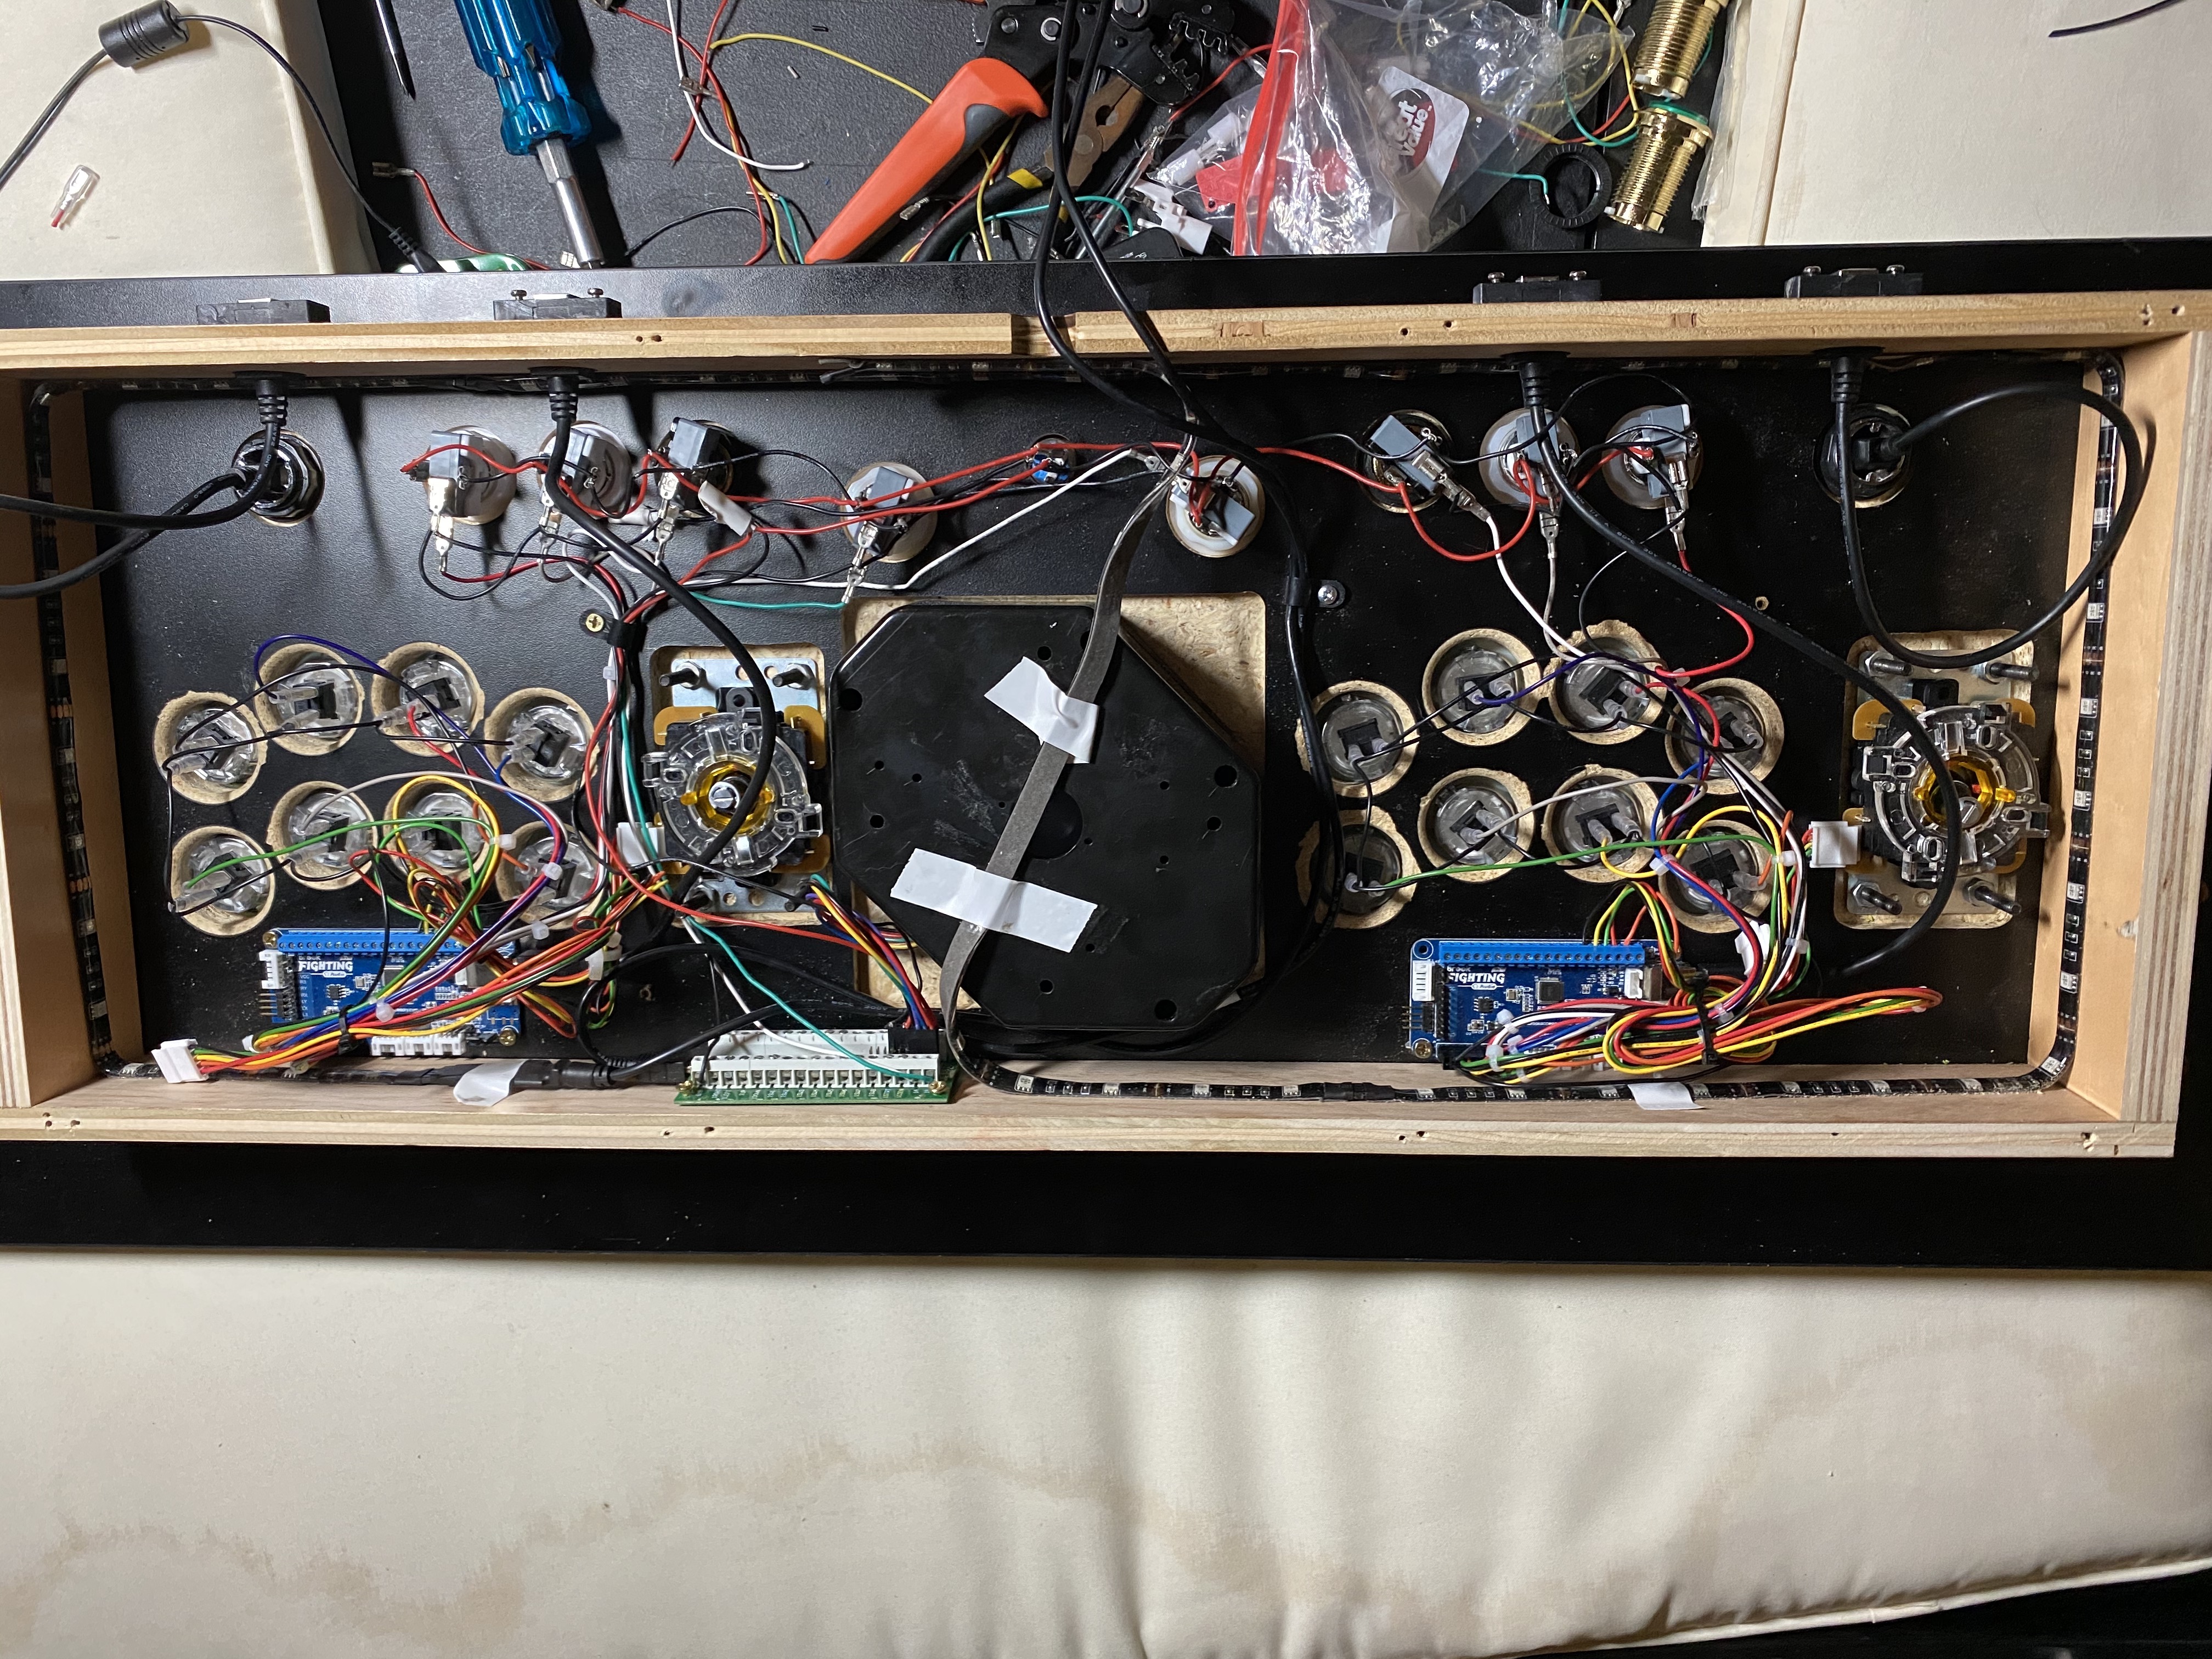
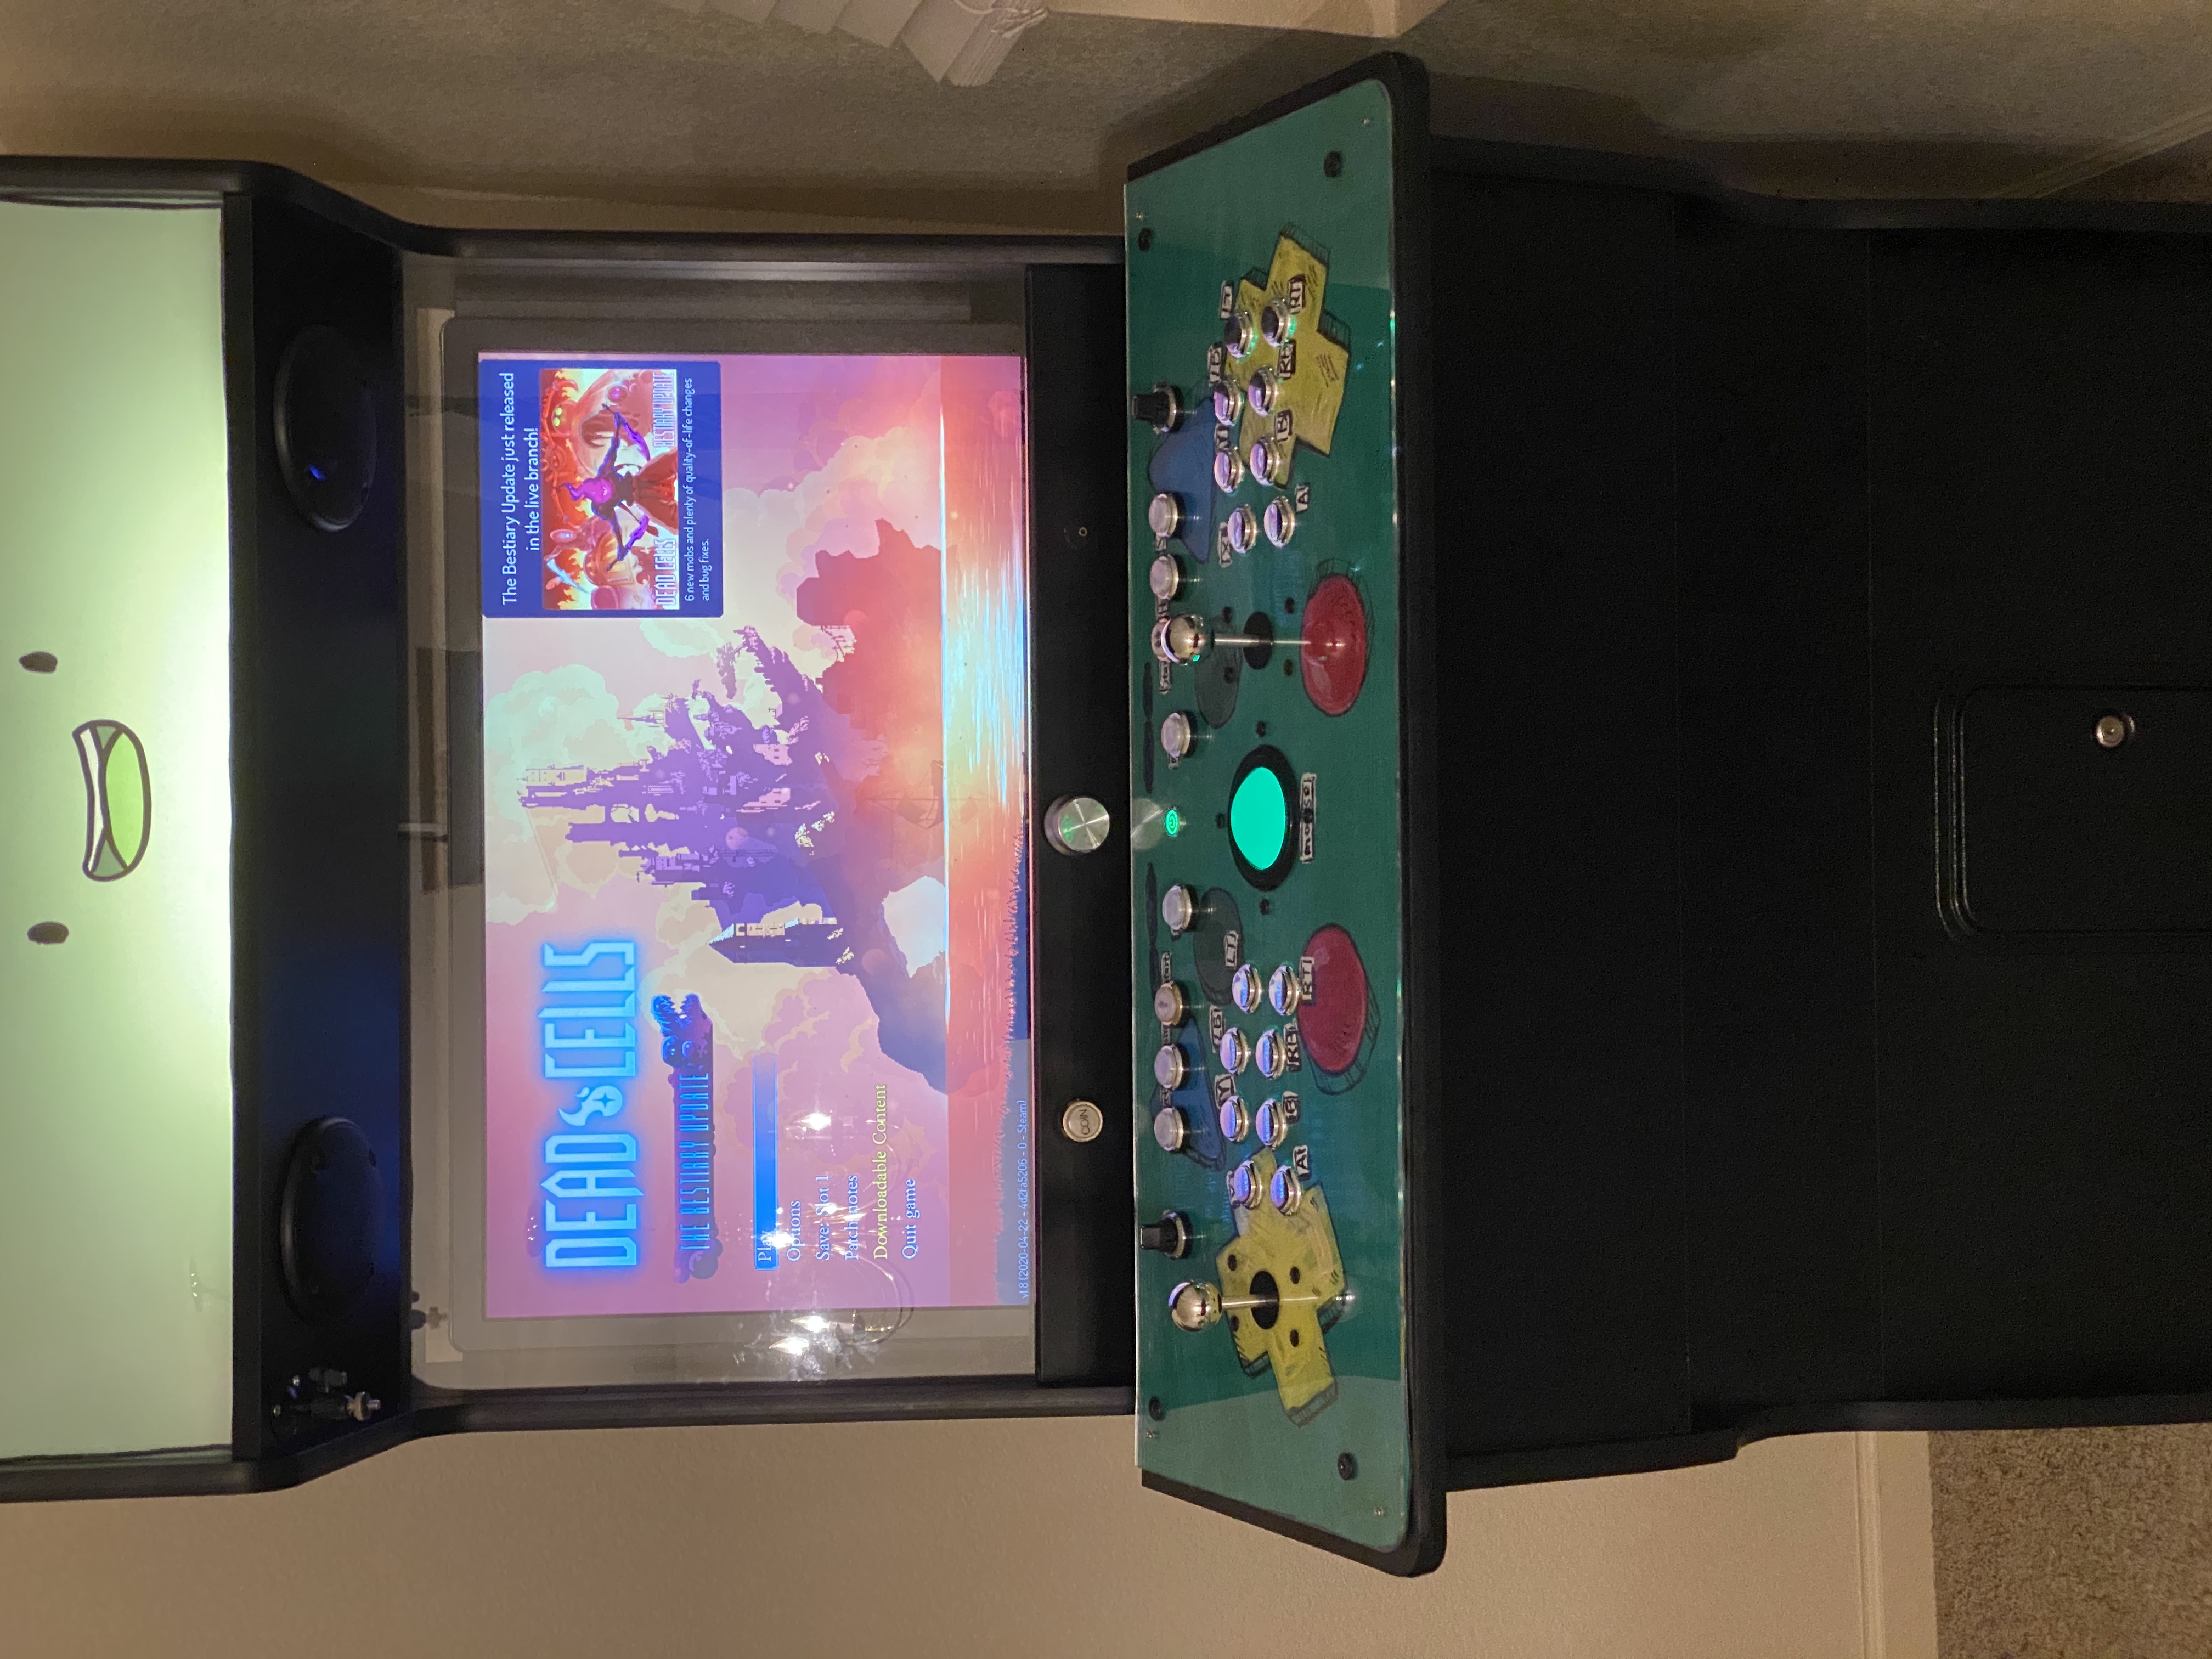
Here’s the final cabinet in all it’s glory:
Thanks
This was a 3 year trip and I learned a lot along the way. Thanks for indulging me by reading it.